Published: Oct 12, 2020 by James K
This is my first proper post! It’s relatively simple, but was fun and worthwhile nonetheless.
I’ve always loved vinyl records! I remember my first time - I was around 10 years old and found my mums original ELO - Out Of The Blue LP, and thought wow that’s cool! and played the first track Turn to Stone, amazing. Well, I’m not the type of person who insists that it is better than digital music, or that it is “warmer”, no, I just think its really cool! I mean, its just pure sound vibrations (even more cool that you can hear the sound from the stylus too) that get turned into an electrcal signal through a pair of magnets and coils, such simple yet fundamental elements.
…anyway, enough effervescing over vinyl records…
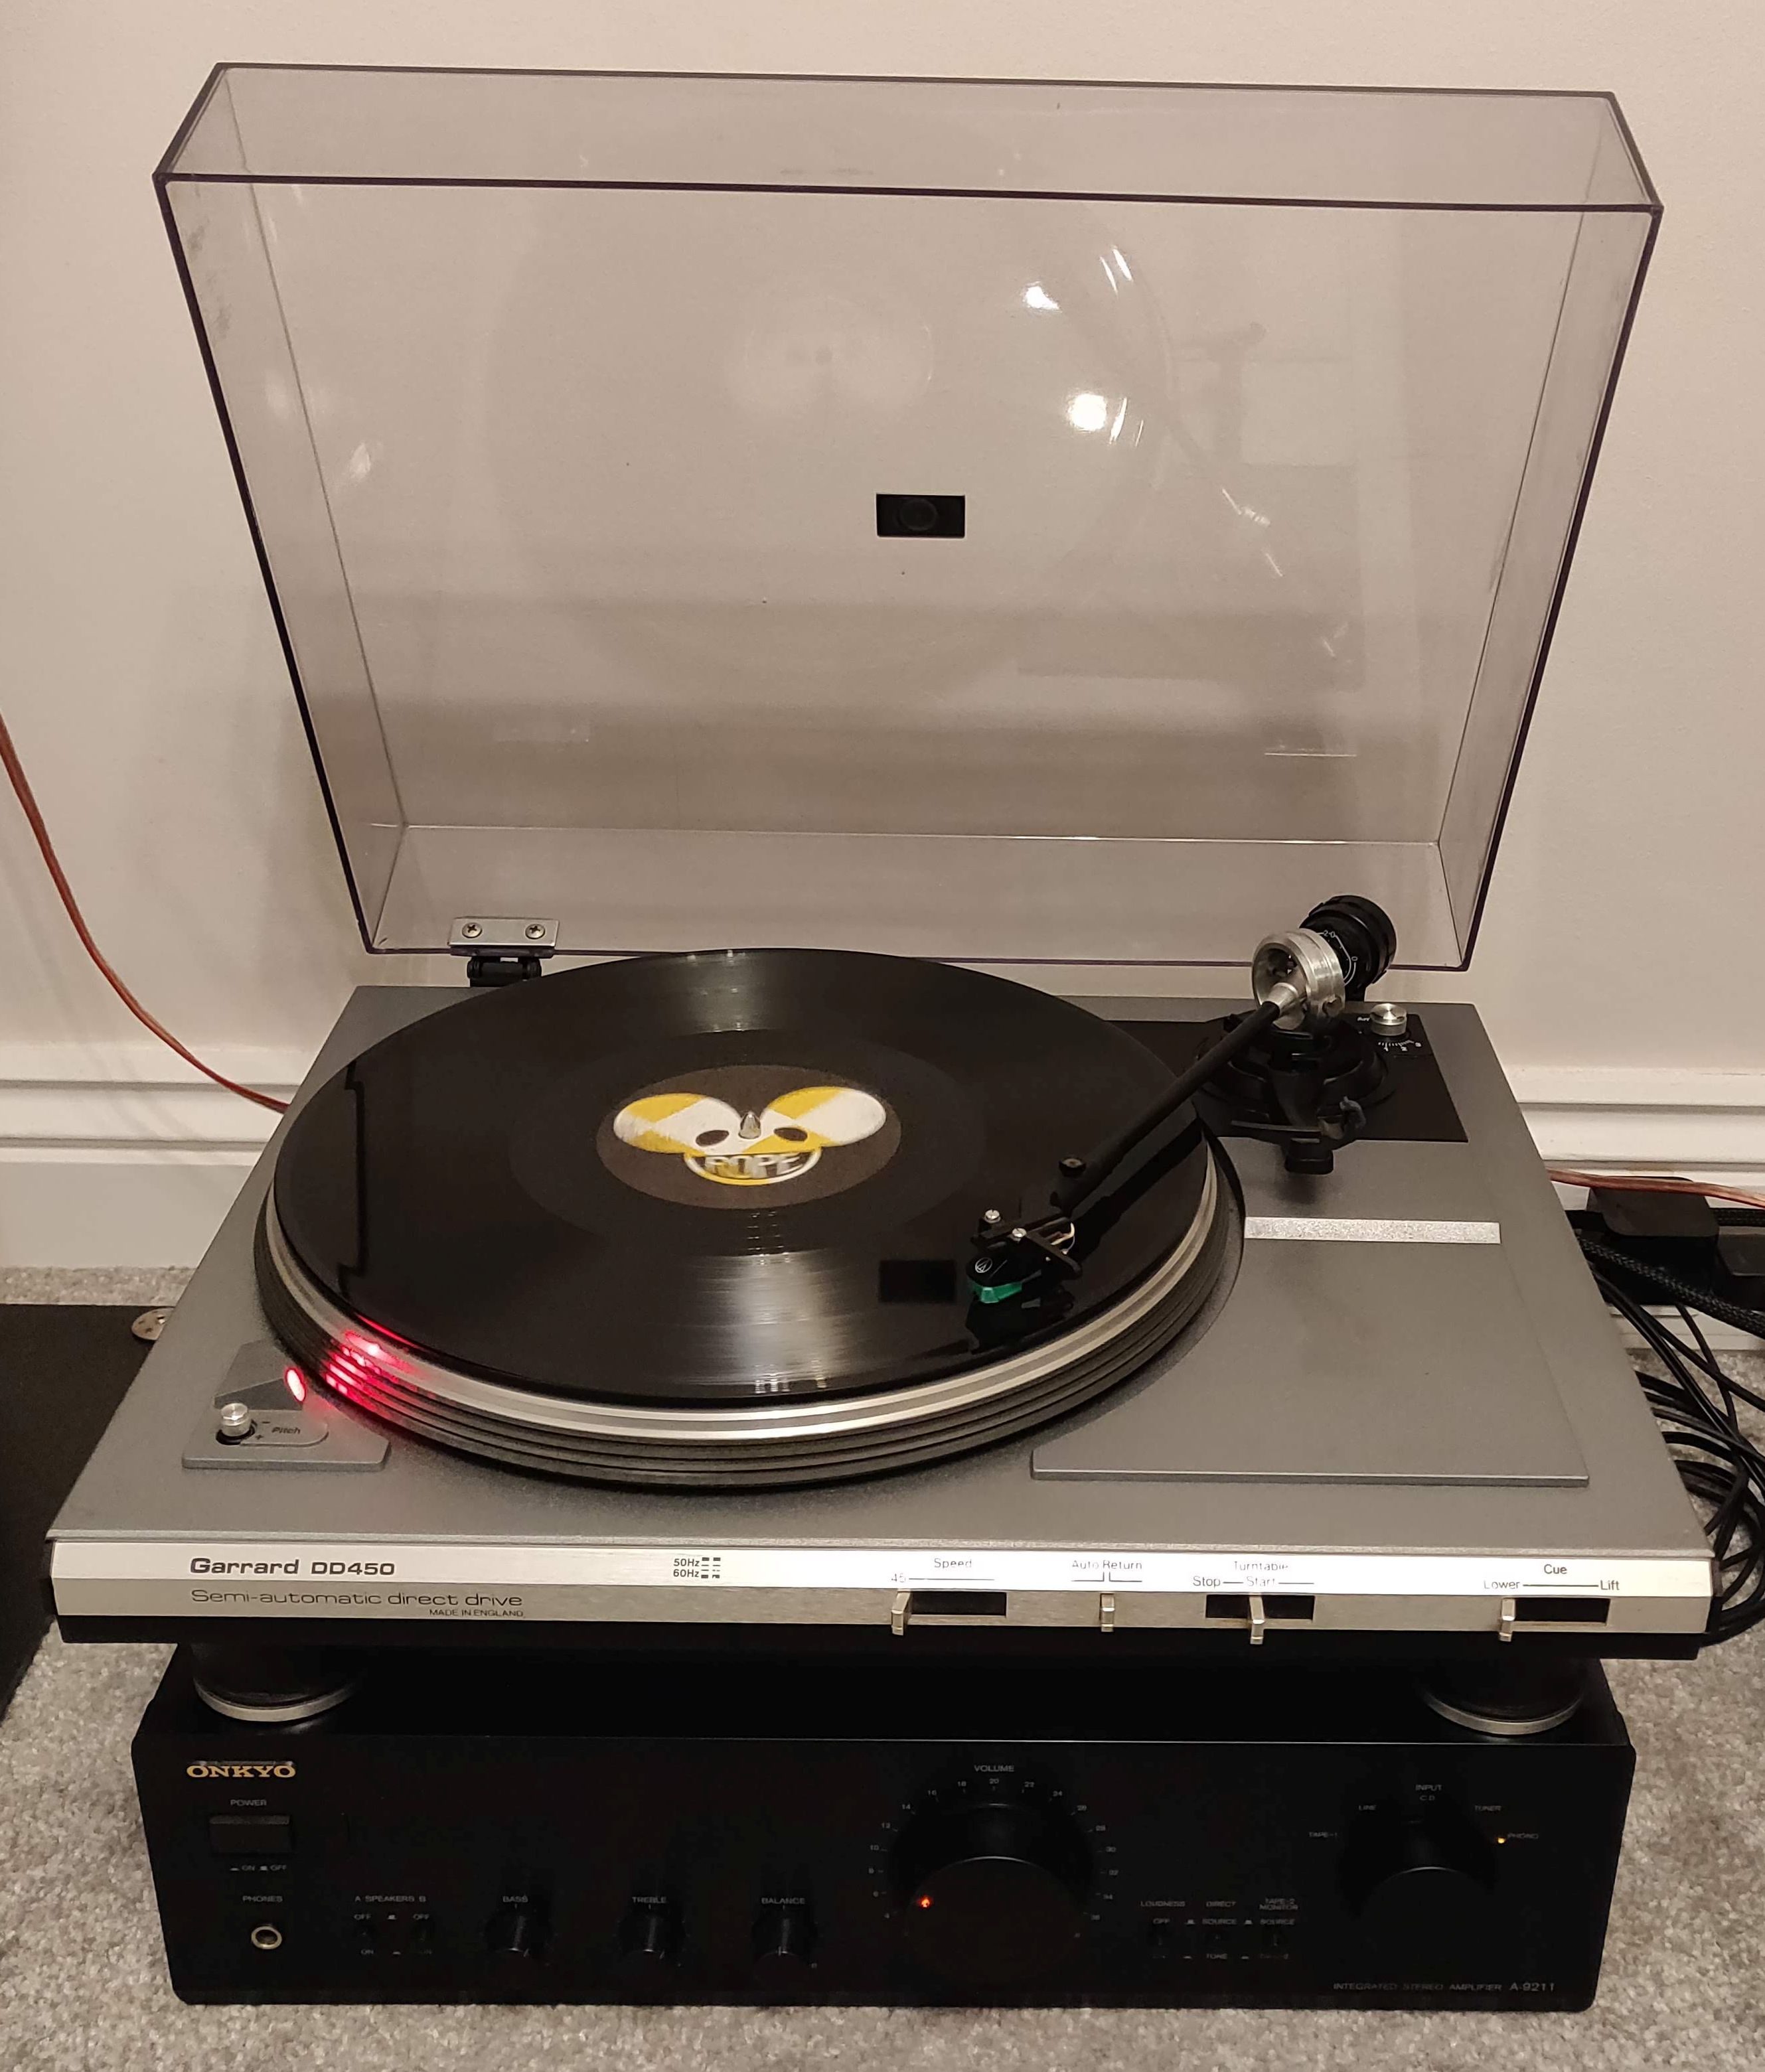
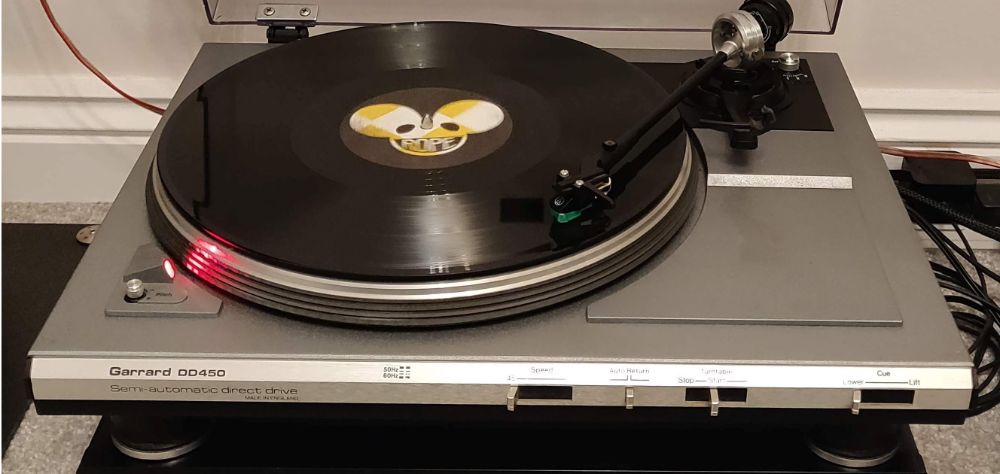
The Garrard DD-450
This turntable belonged to my Uncle and he gave it me when he got rid of his hifi system. Sadly, it’s been sat in my mum and dad’s garrage for the last 10-15 years, and despite avoiding damage from serious flooding, it is in a sorry state:
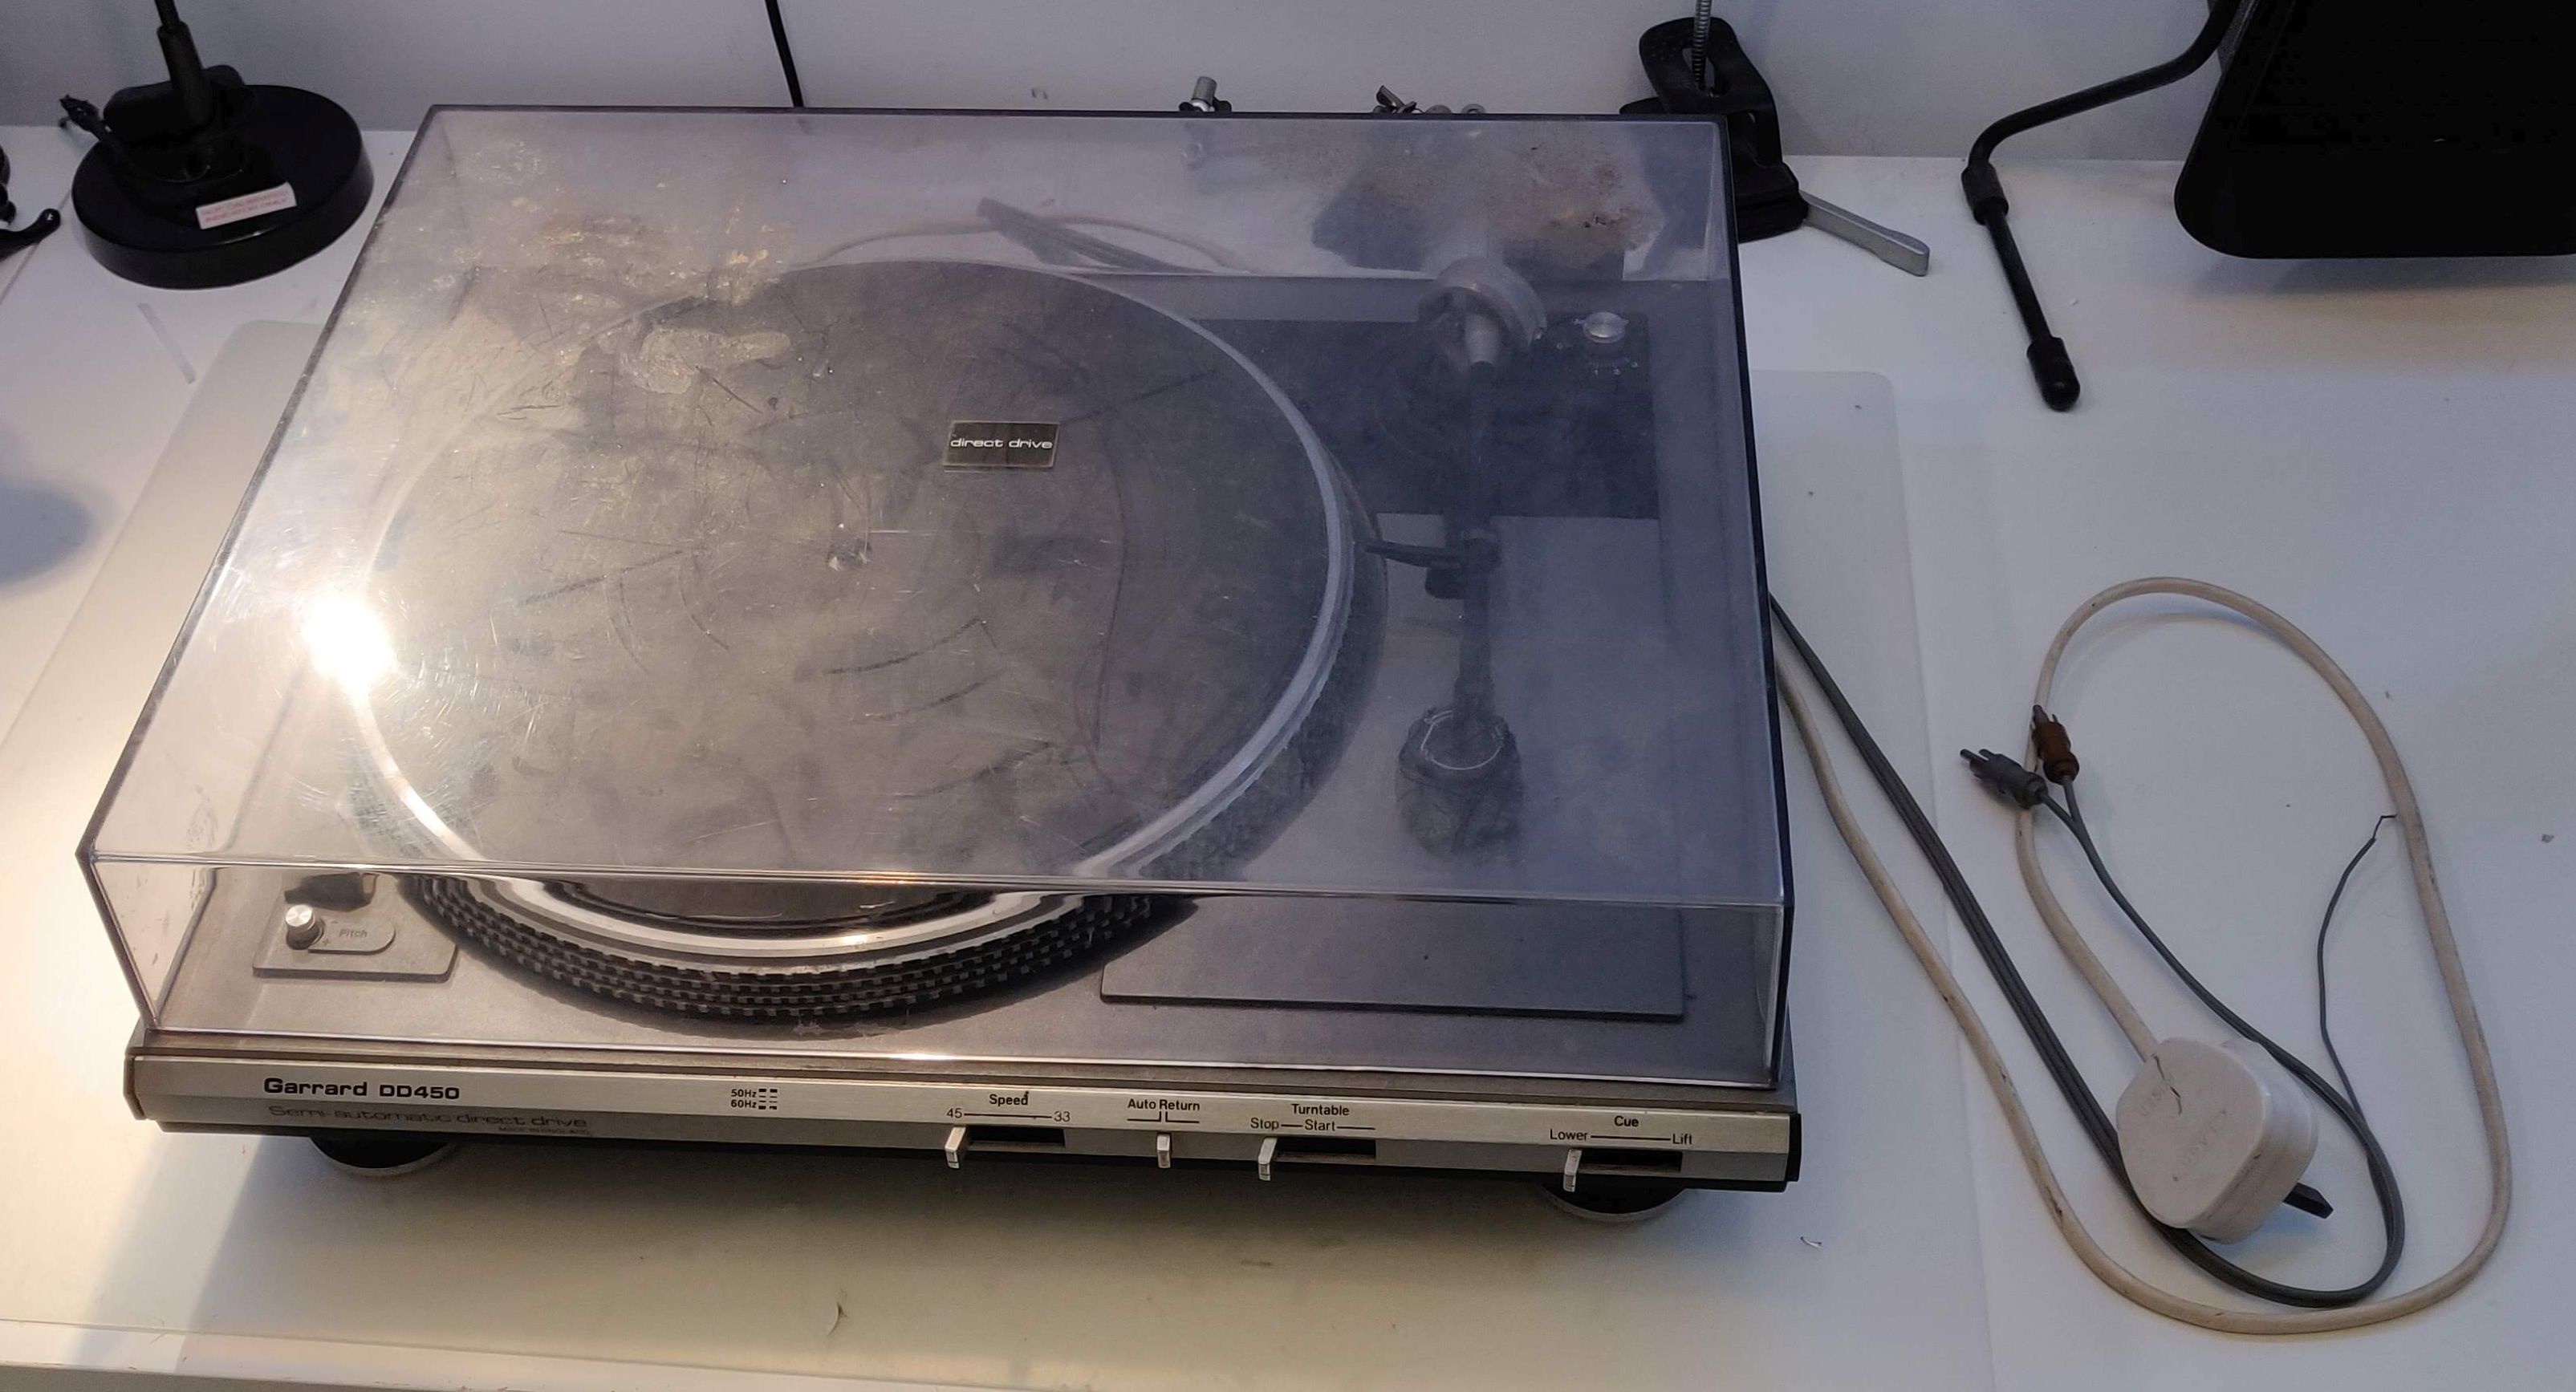
From what I’ve read online, this isn’t a massively loved turntable, as it was released towards the end of Garrard’s time. Despite this, I couldn’t see why it couldn’t be a nice turntable - it certainly has to be better than some of the modern junk you can buy that call themselved turntables. It’s a Direct-Drive type, and has an anti-skate tonearm with balancing, to allow the correct tracking force to be applied.
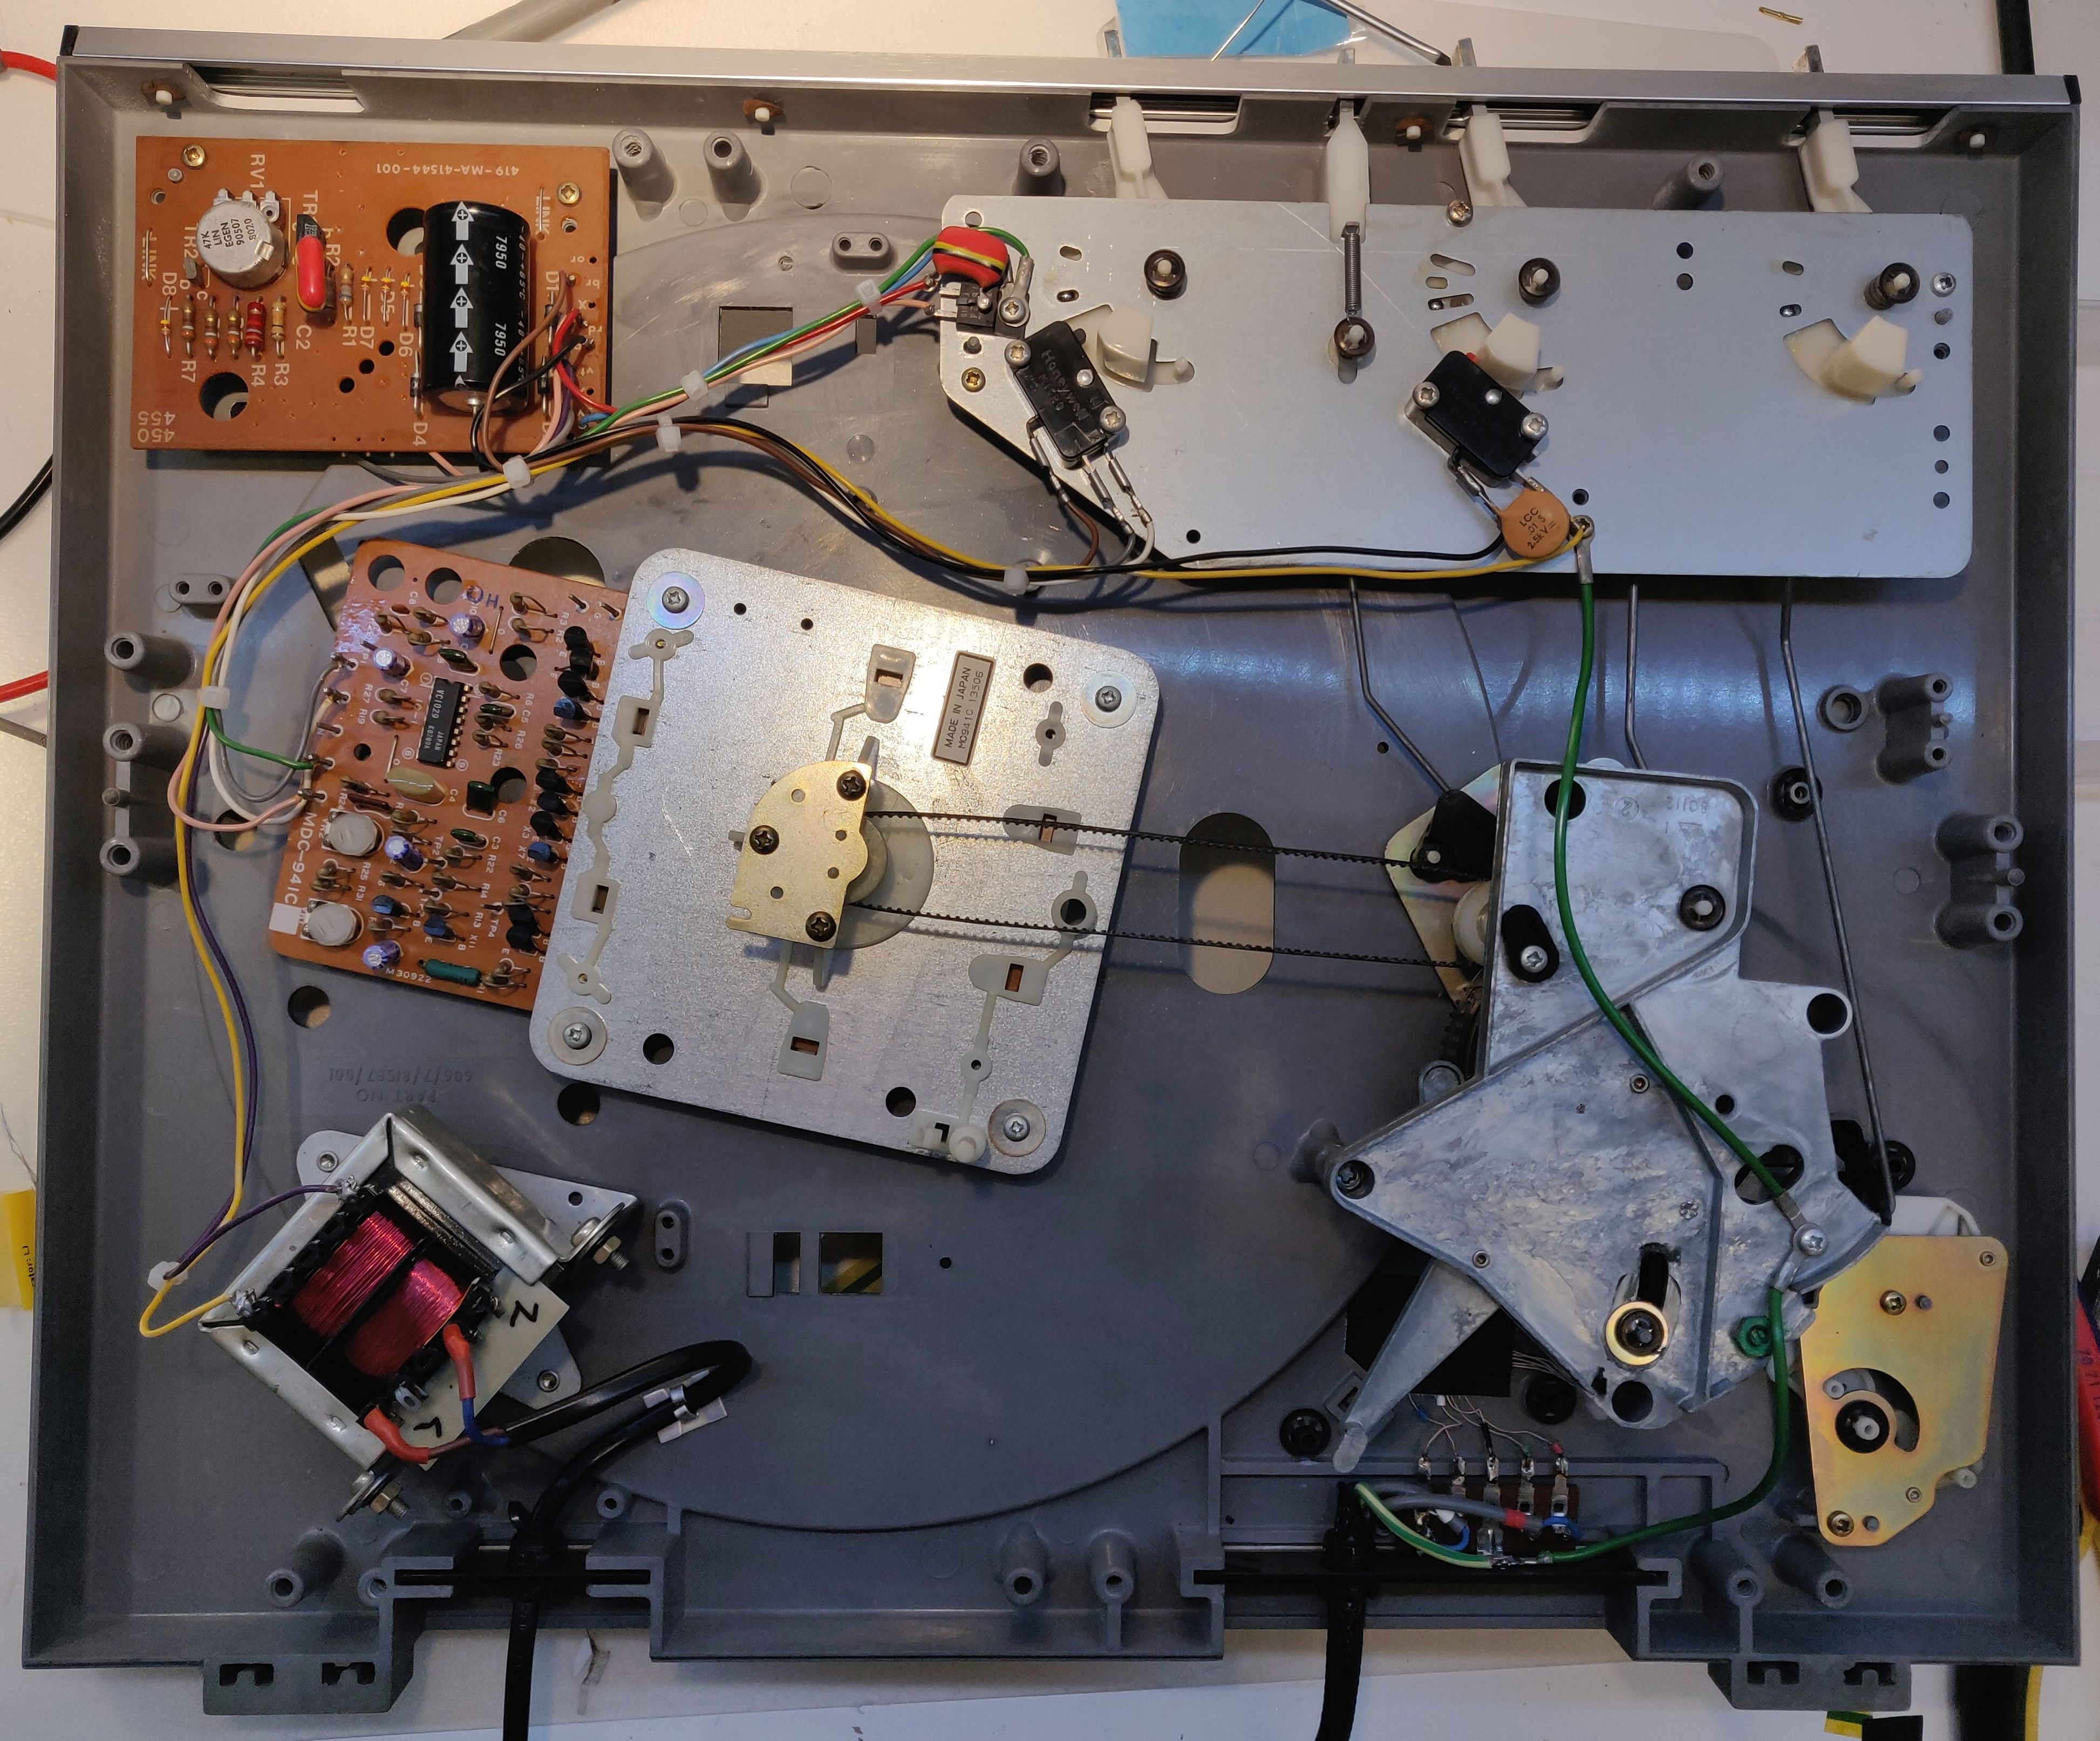
Removing the base reveals the lovely innards. As it’s semi-automatic, you can see a belt that takes the rotation of the disk to the semi-automatic mechanism (semi-automatic basically means that it will return the tonearm to its rest once the record is at the end. There is also a button to activate this yourself mid-play).
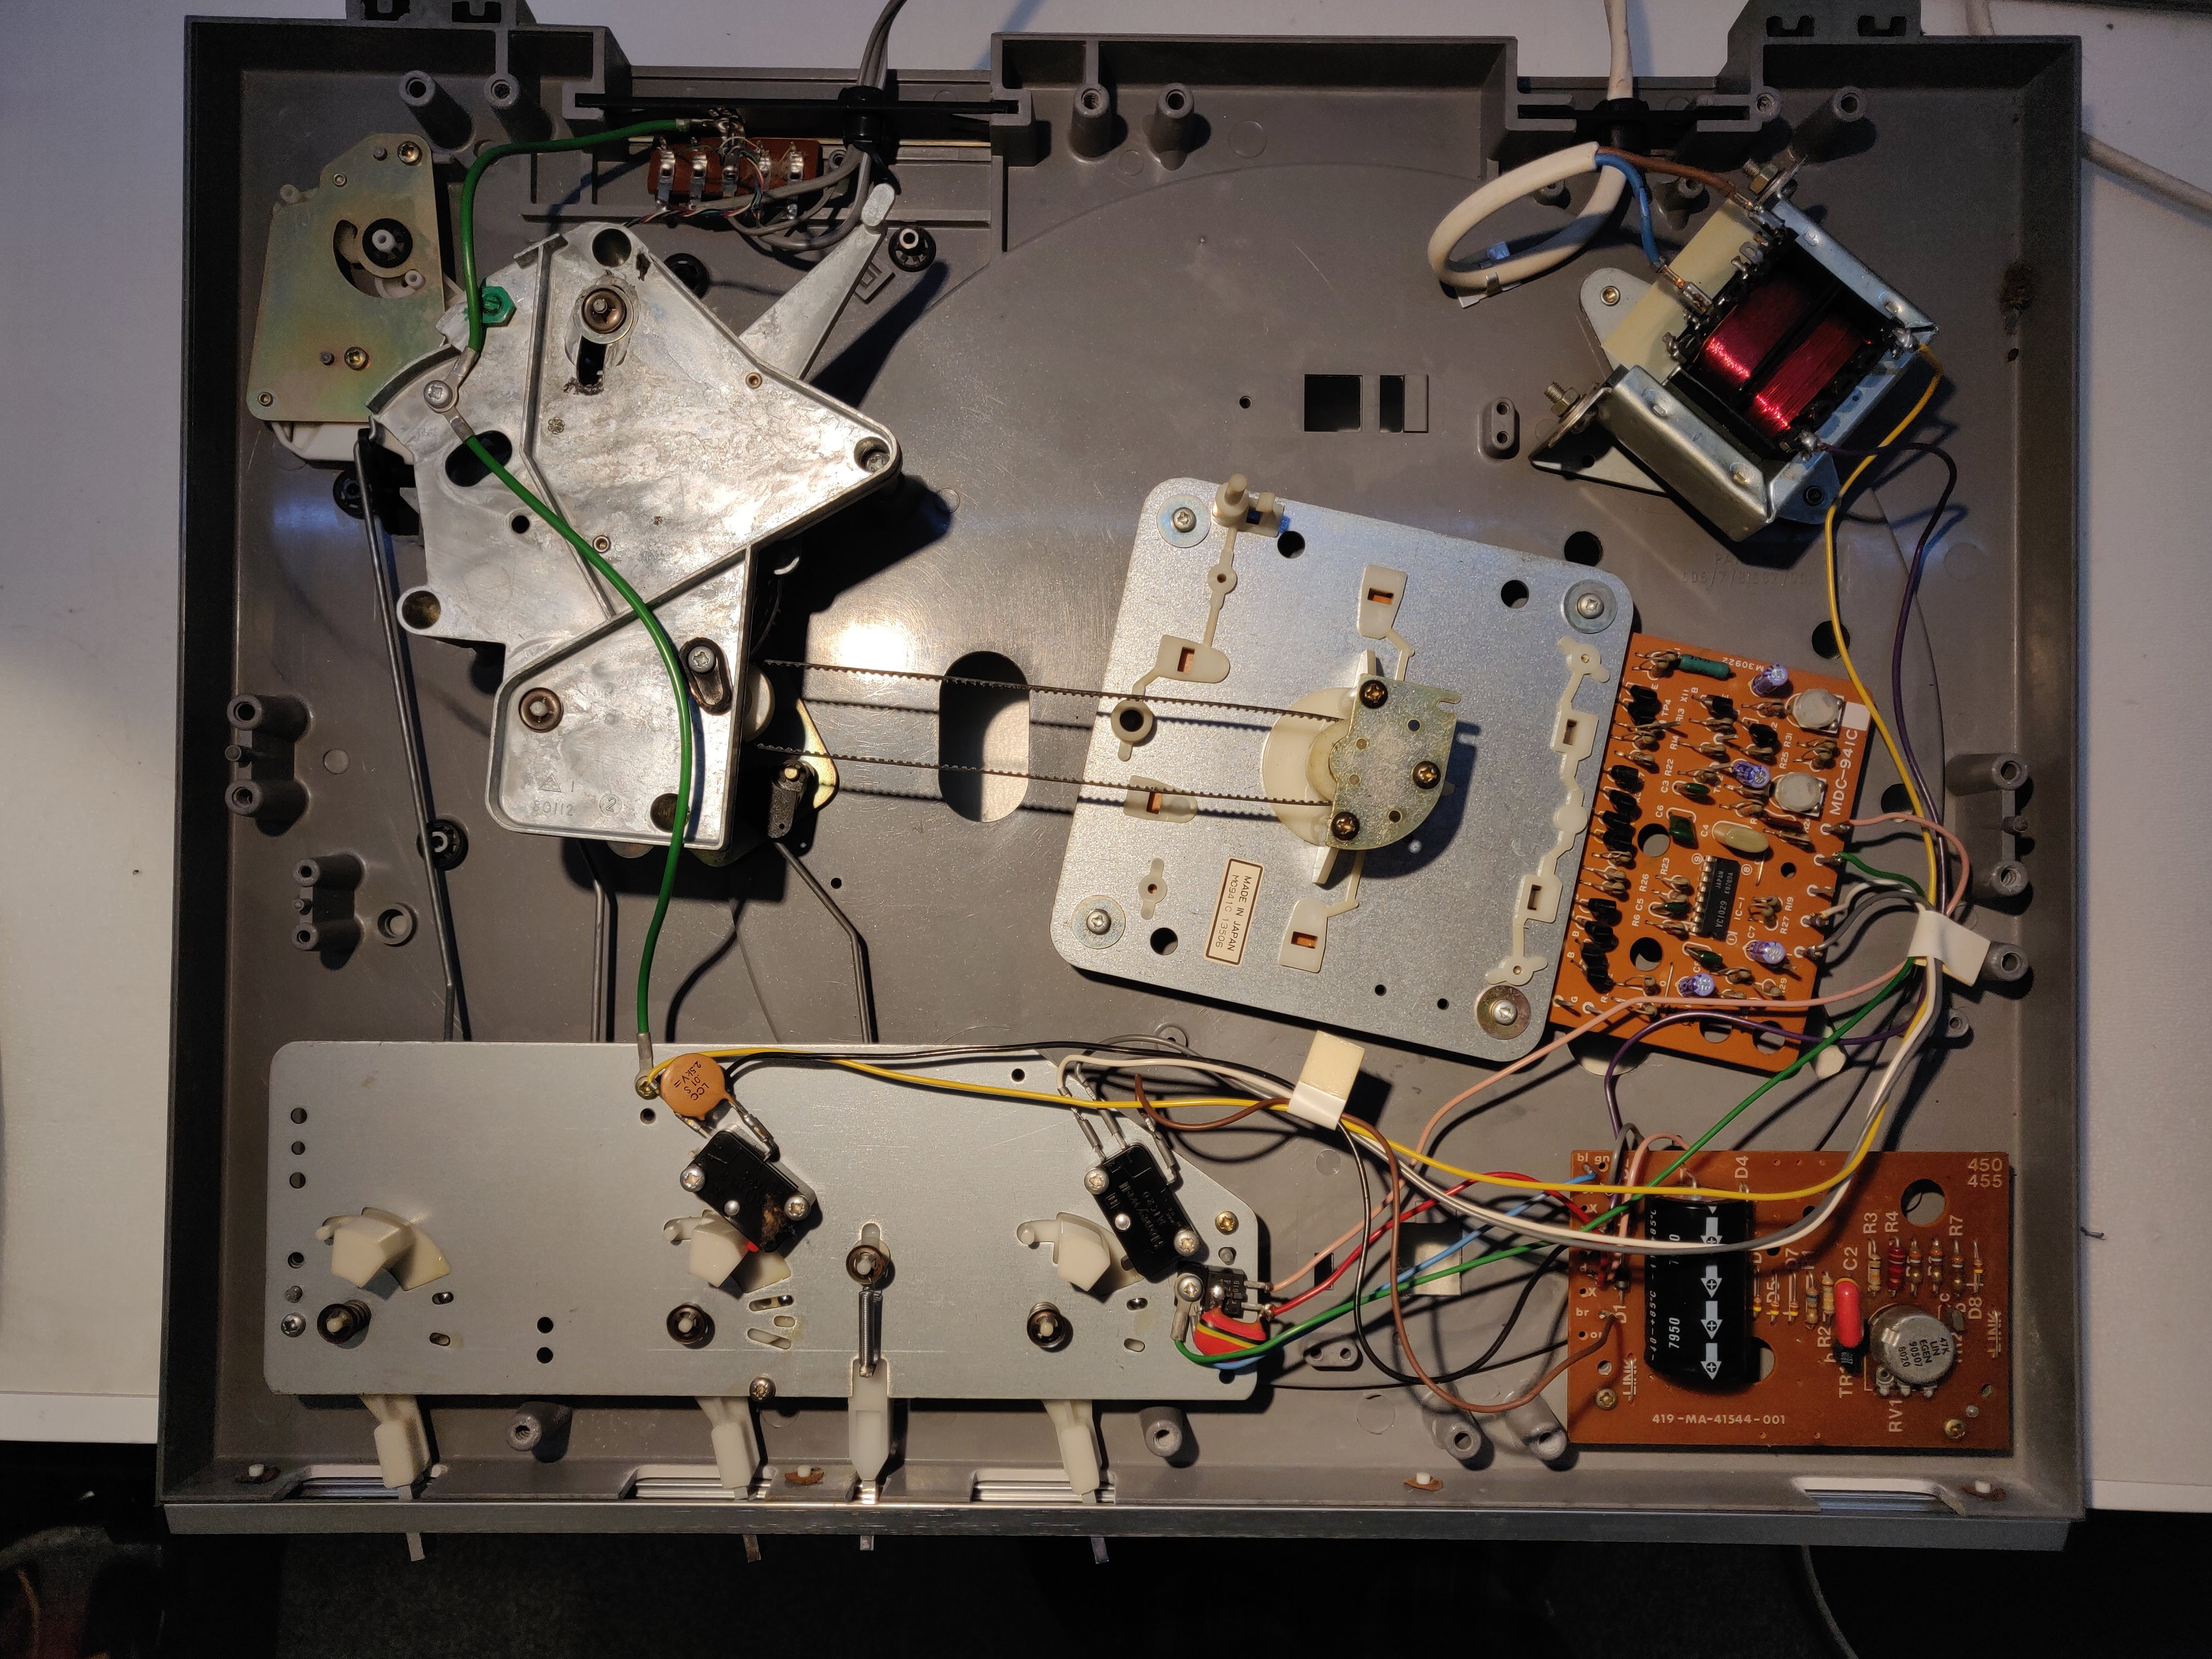
A little cleaning and air blasting of the inside and it is good as new. Thankfully, the mechanical parts are sound as a pound and don’t need any attention. I removed the mains cable from the transformer, and removed the tonearm completely.
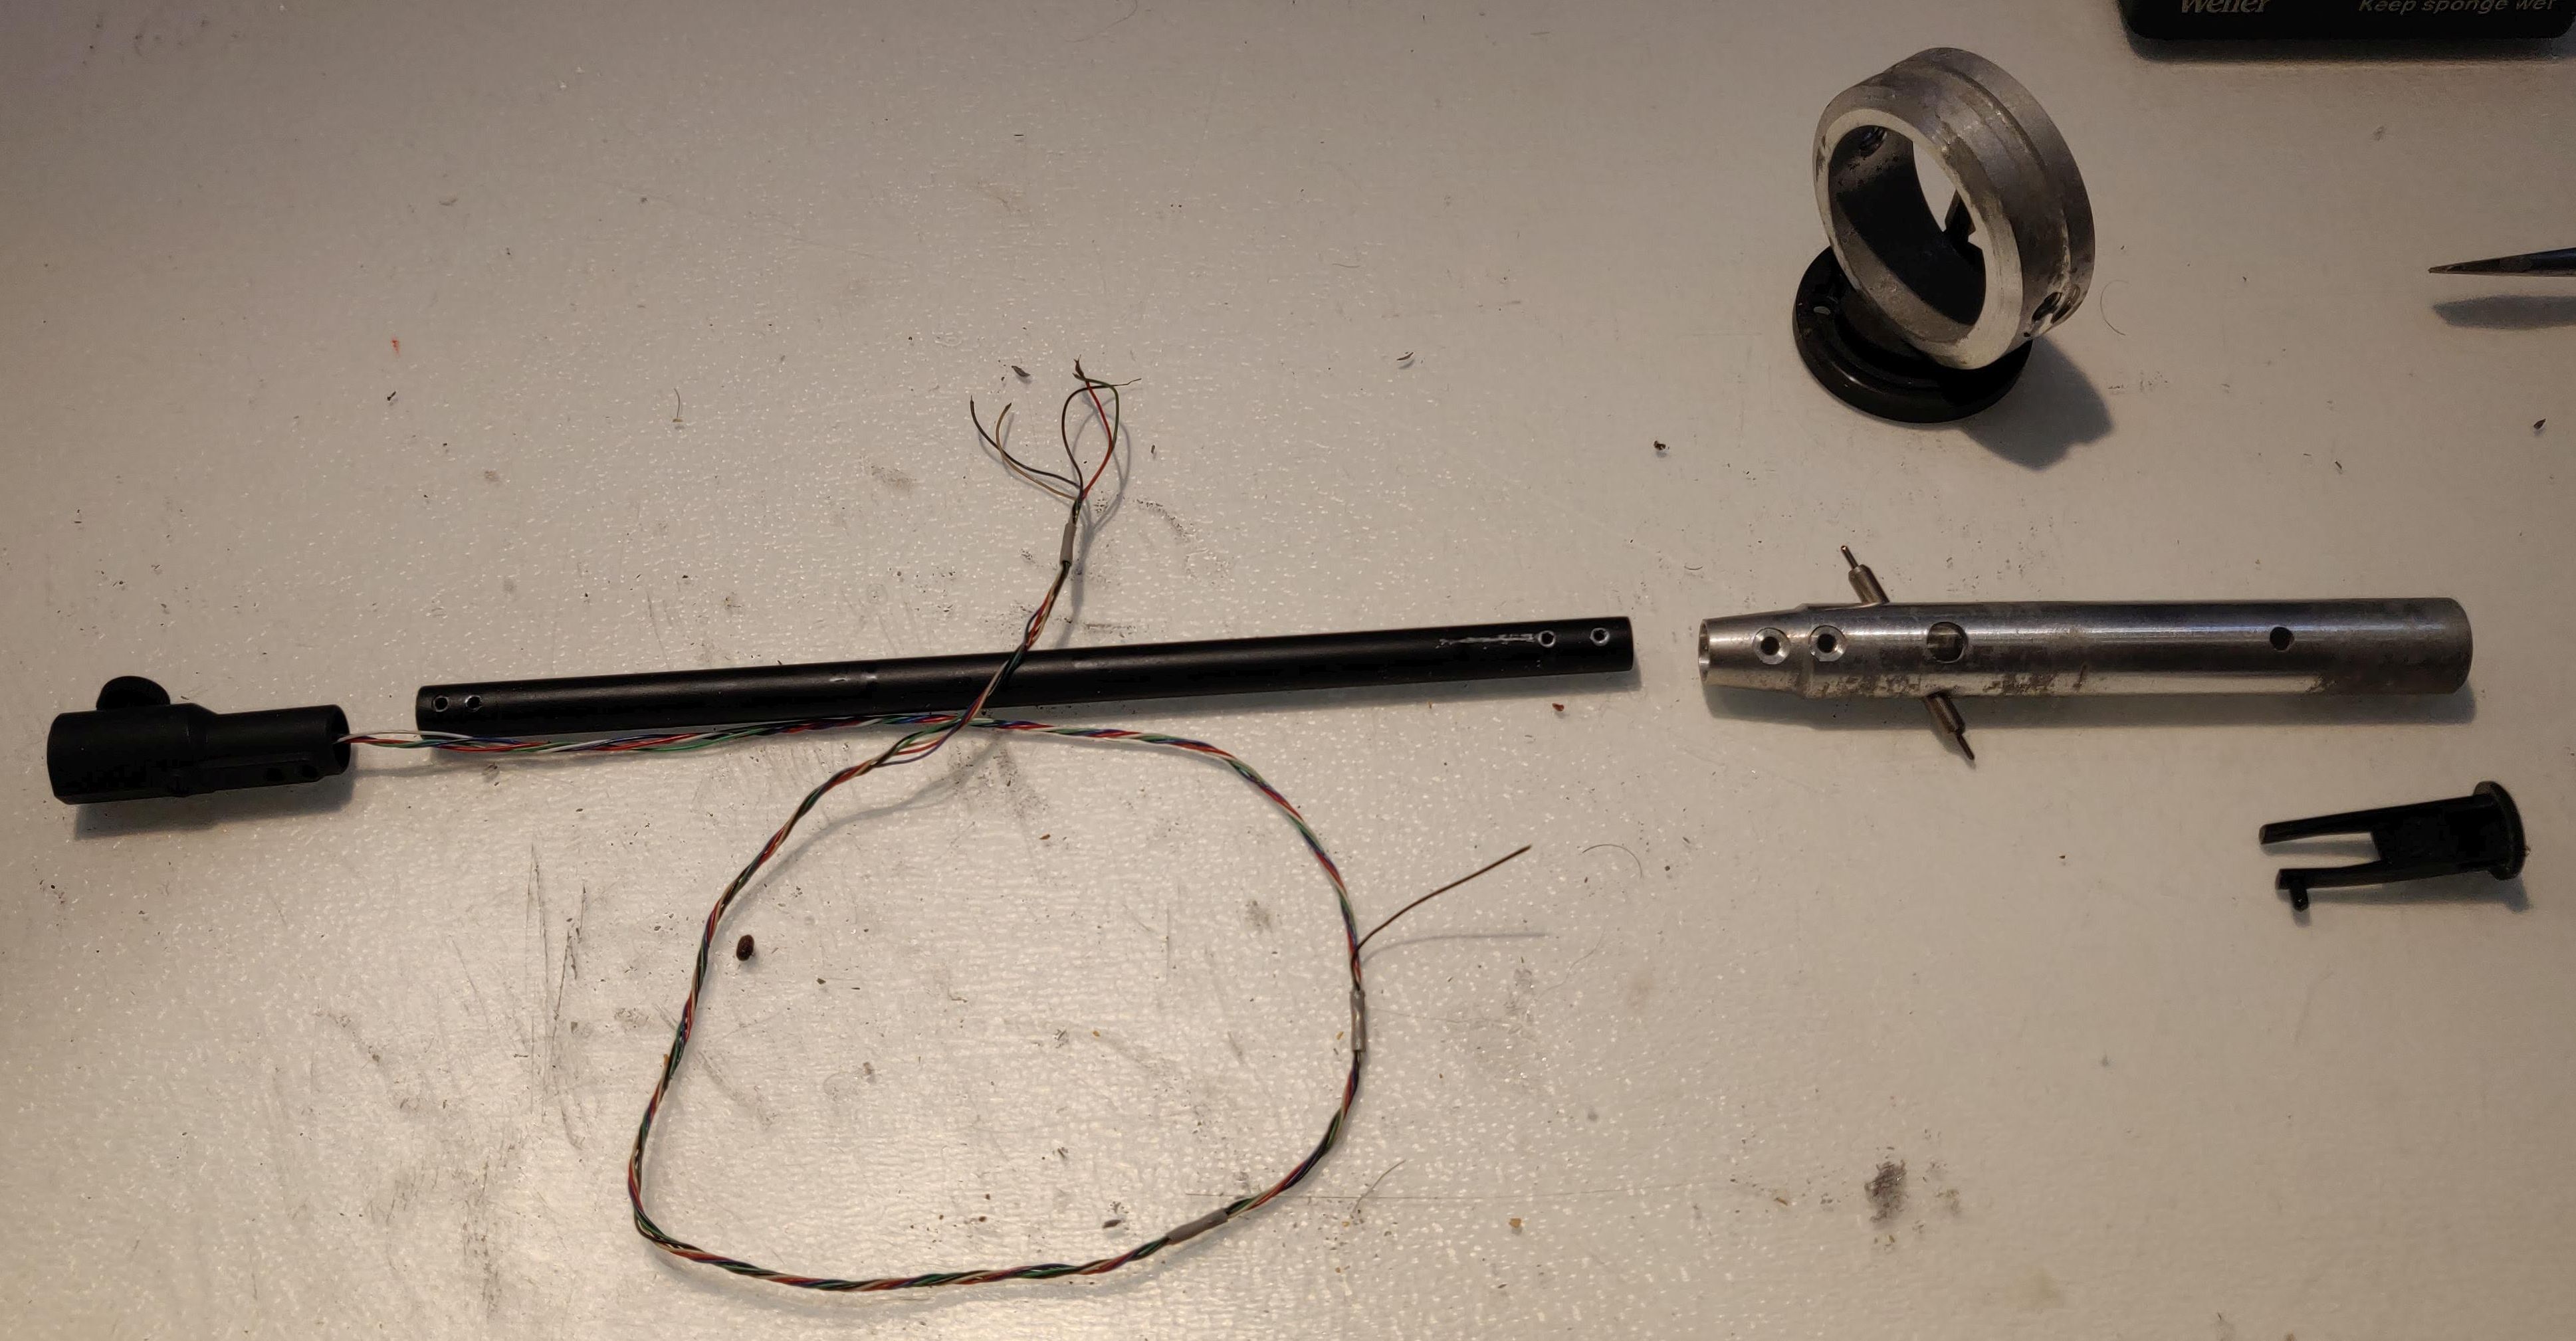
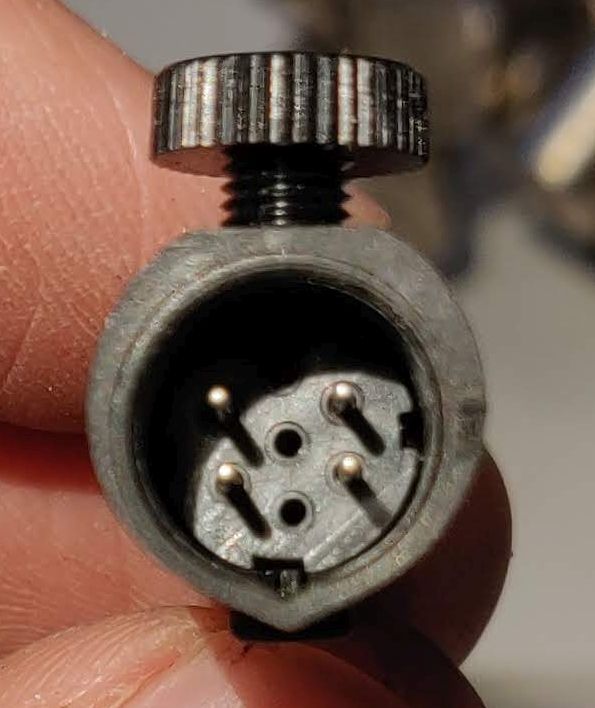
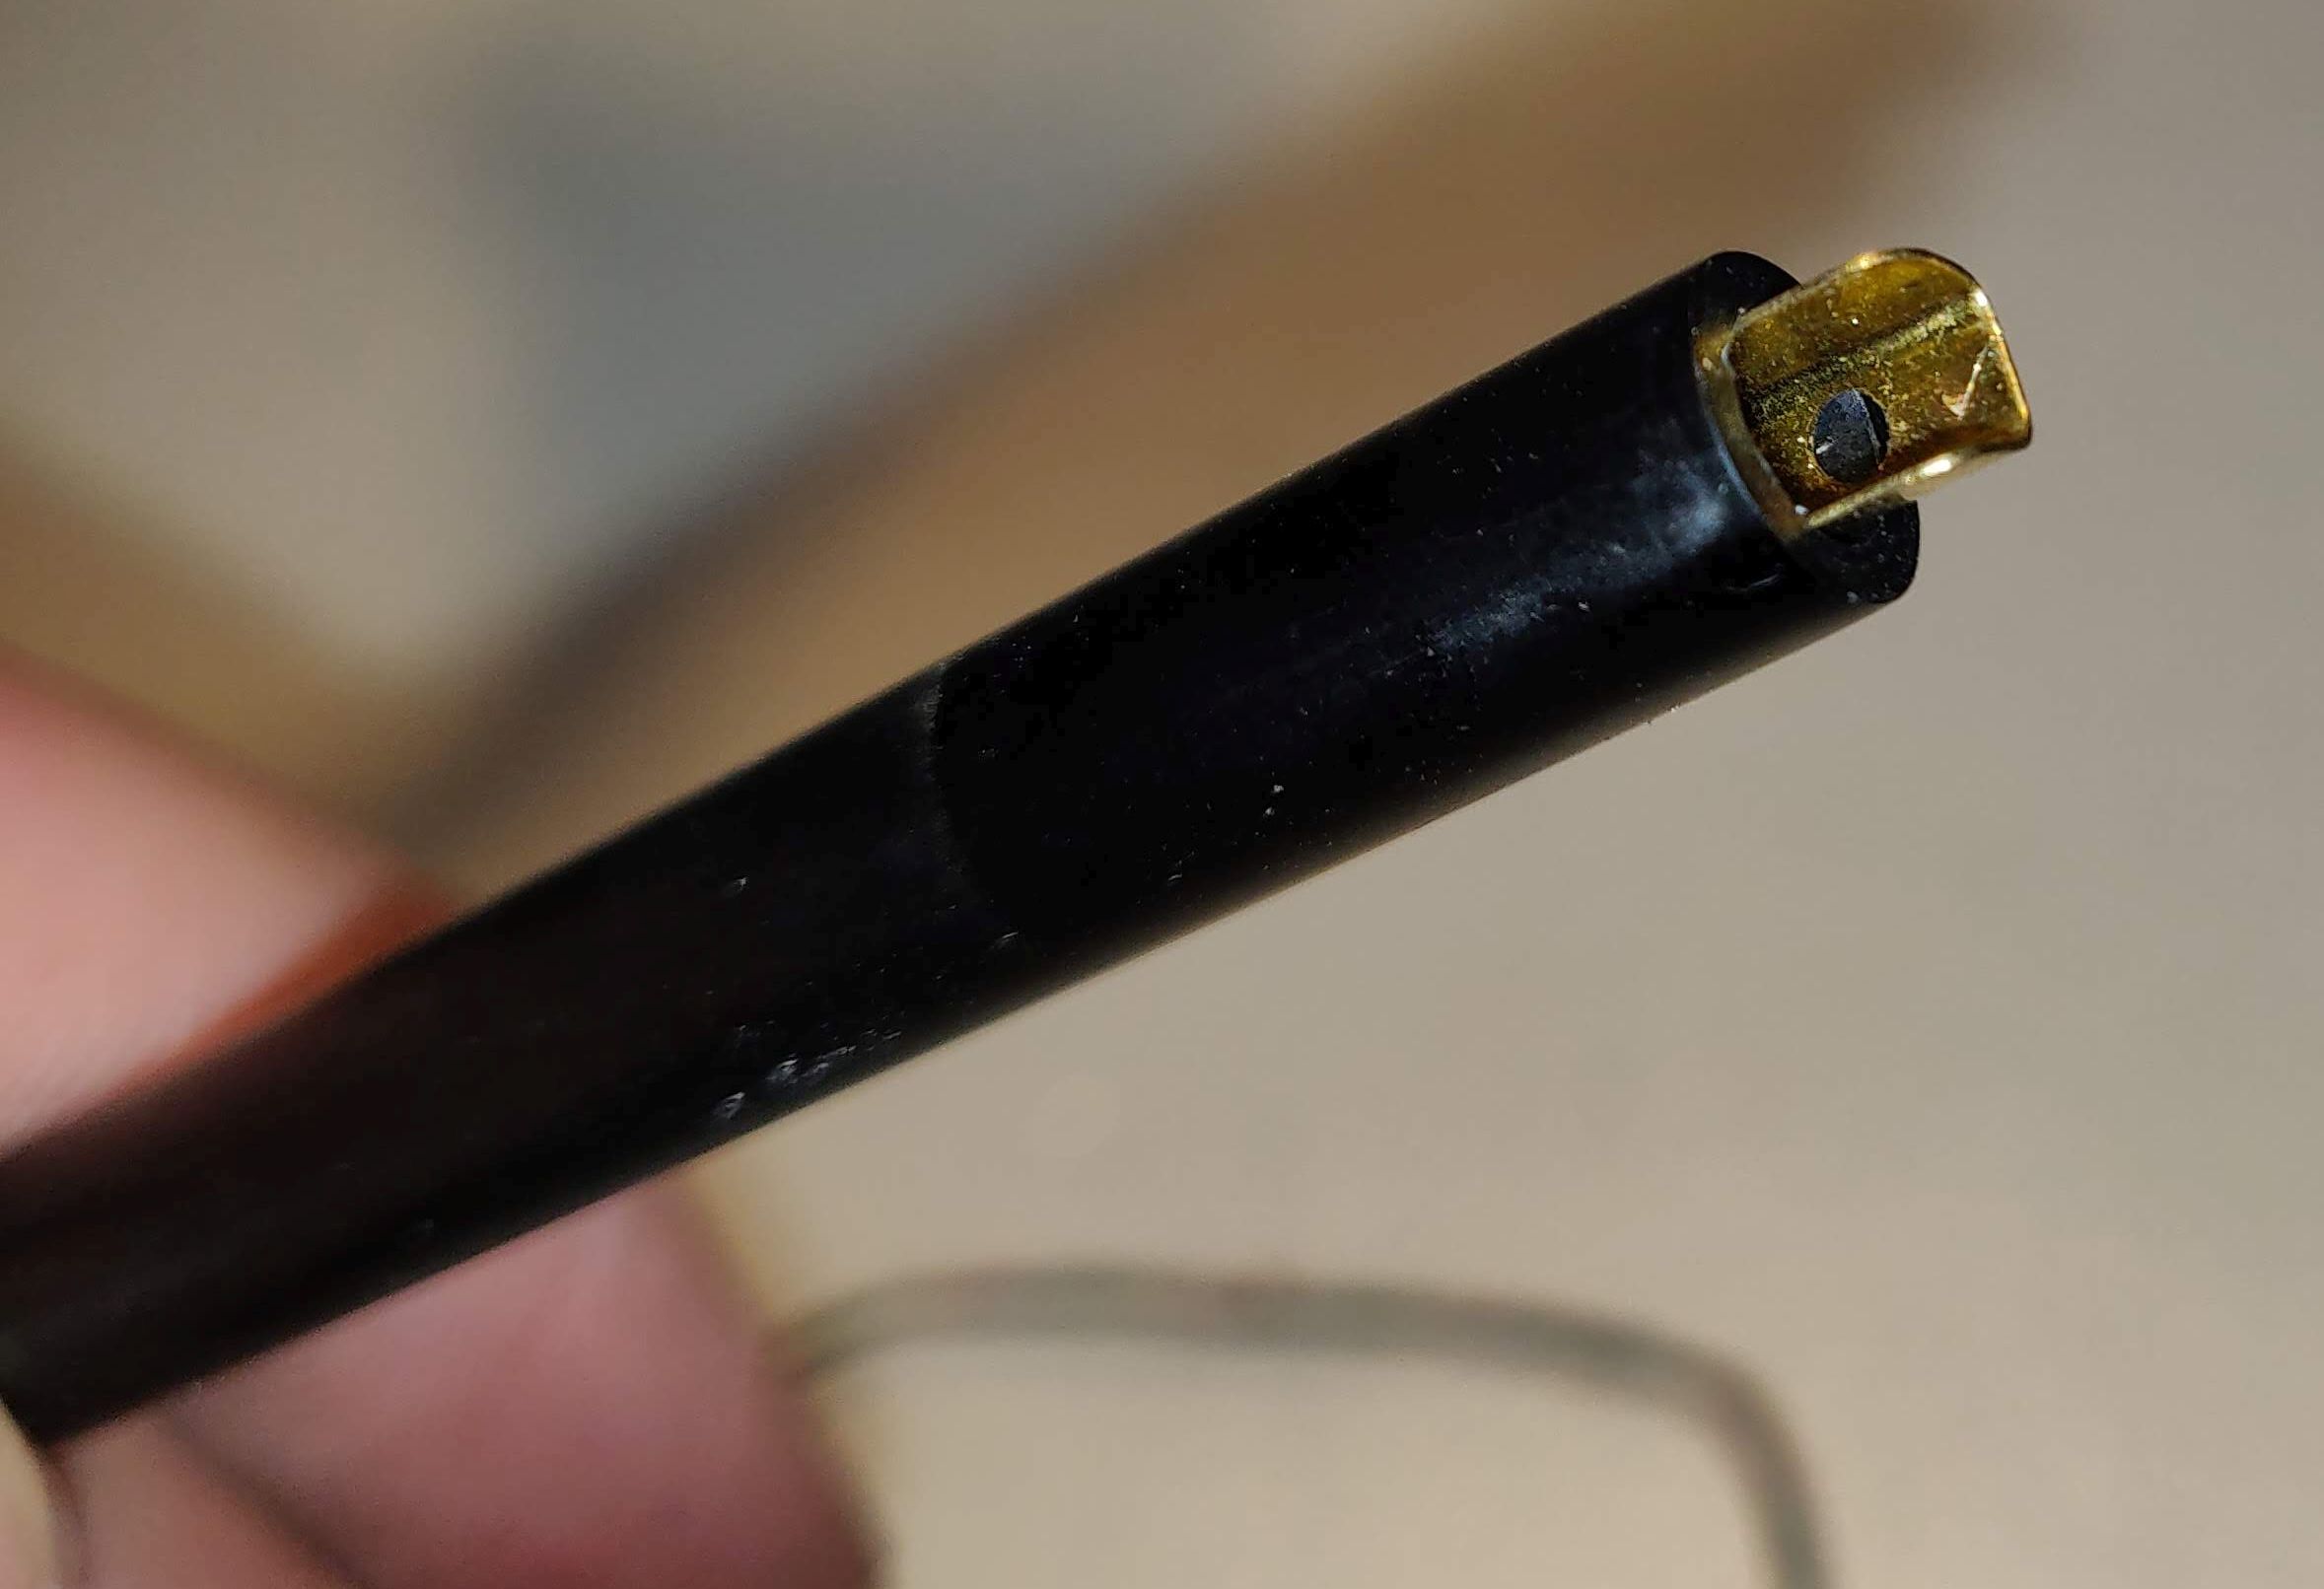
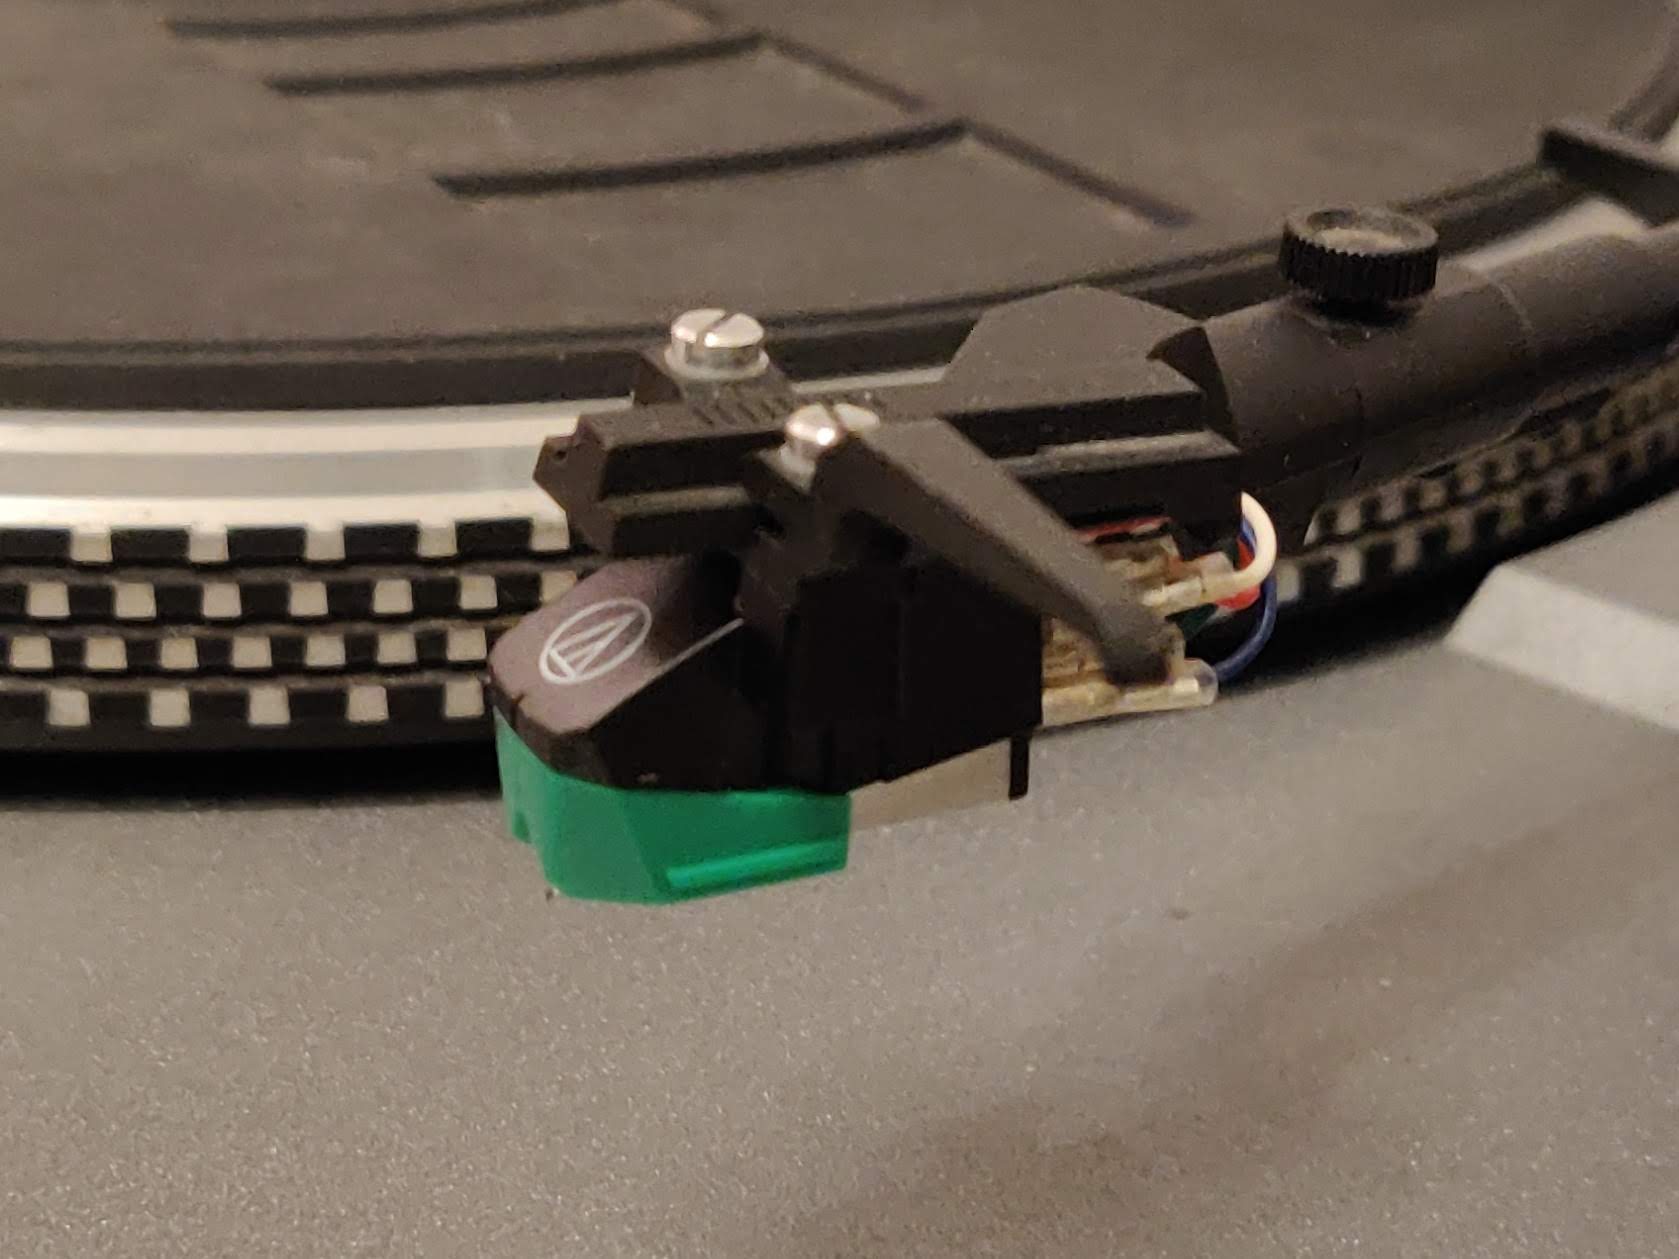
I am replacing all of the audio cable with new in this restoration, however I need to keep the original headshell and it’s connector. I believe this is known as an ADC Type headshell connector, and is difficult to obtain. This headshell and its connector seem fine.
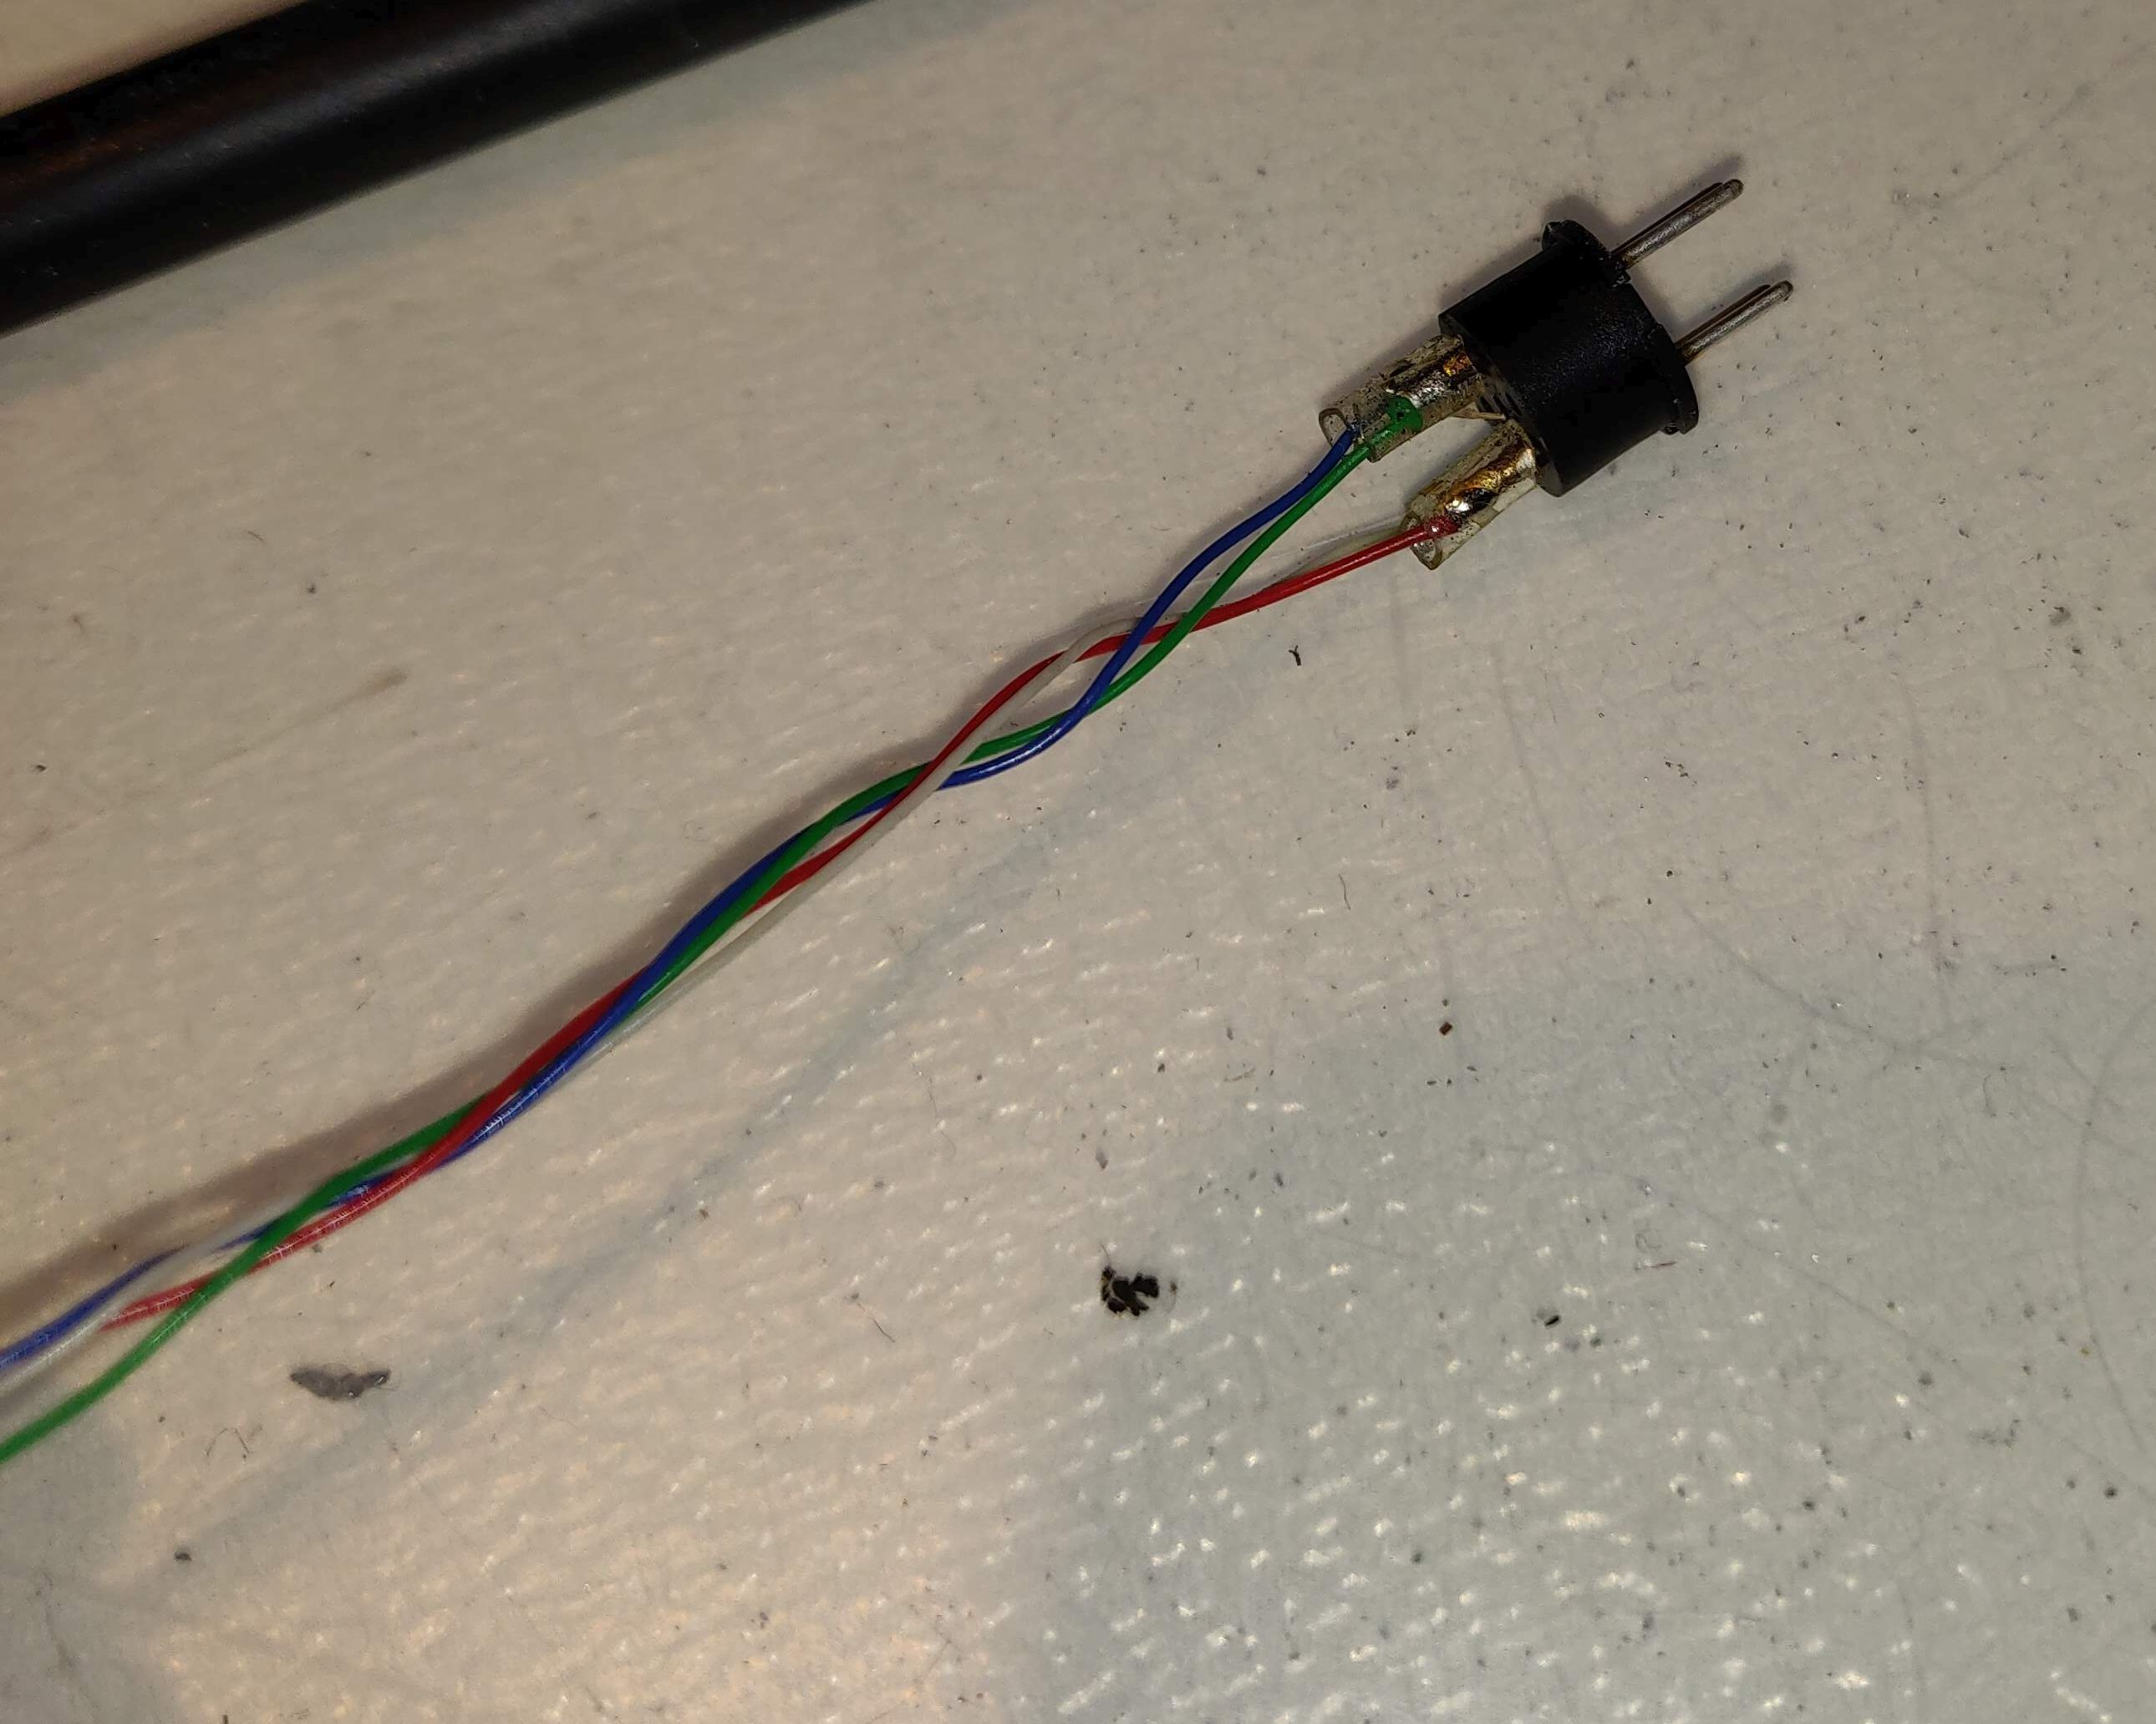
To replace the wire in the tonearm, I’m using Silk wrapped Litz Wire. It has the seal or approval from internet audiophiles for this purpose, and I have some scrap wire that is perfect for this. The biggest concern is the successful soldering of it, since it comprises of lots of thin enamel coated strands. I’ve found that the best way of soldering this, is to first remove some of the silk wrapping (it uncurls itself off if you pull it) and then using a hot soldering iron with large tip at 400°C tin the end with a nice blob of solder; the enamel will bubble away and the solder will tin the strands nicely. Be sure to check the resistance of each piece though to make sure they are are low and equal, and definitely give your tip a good clean with wet sponge in between every use, there’s lots of enamel being removed!!
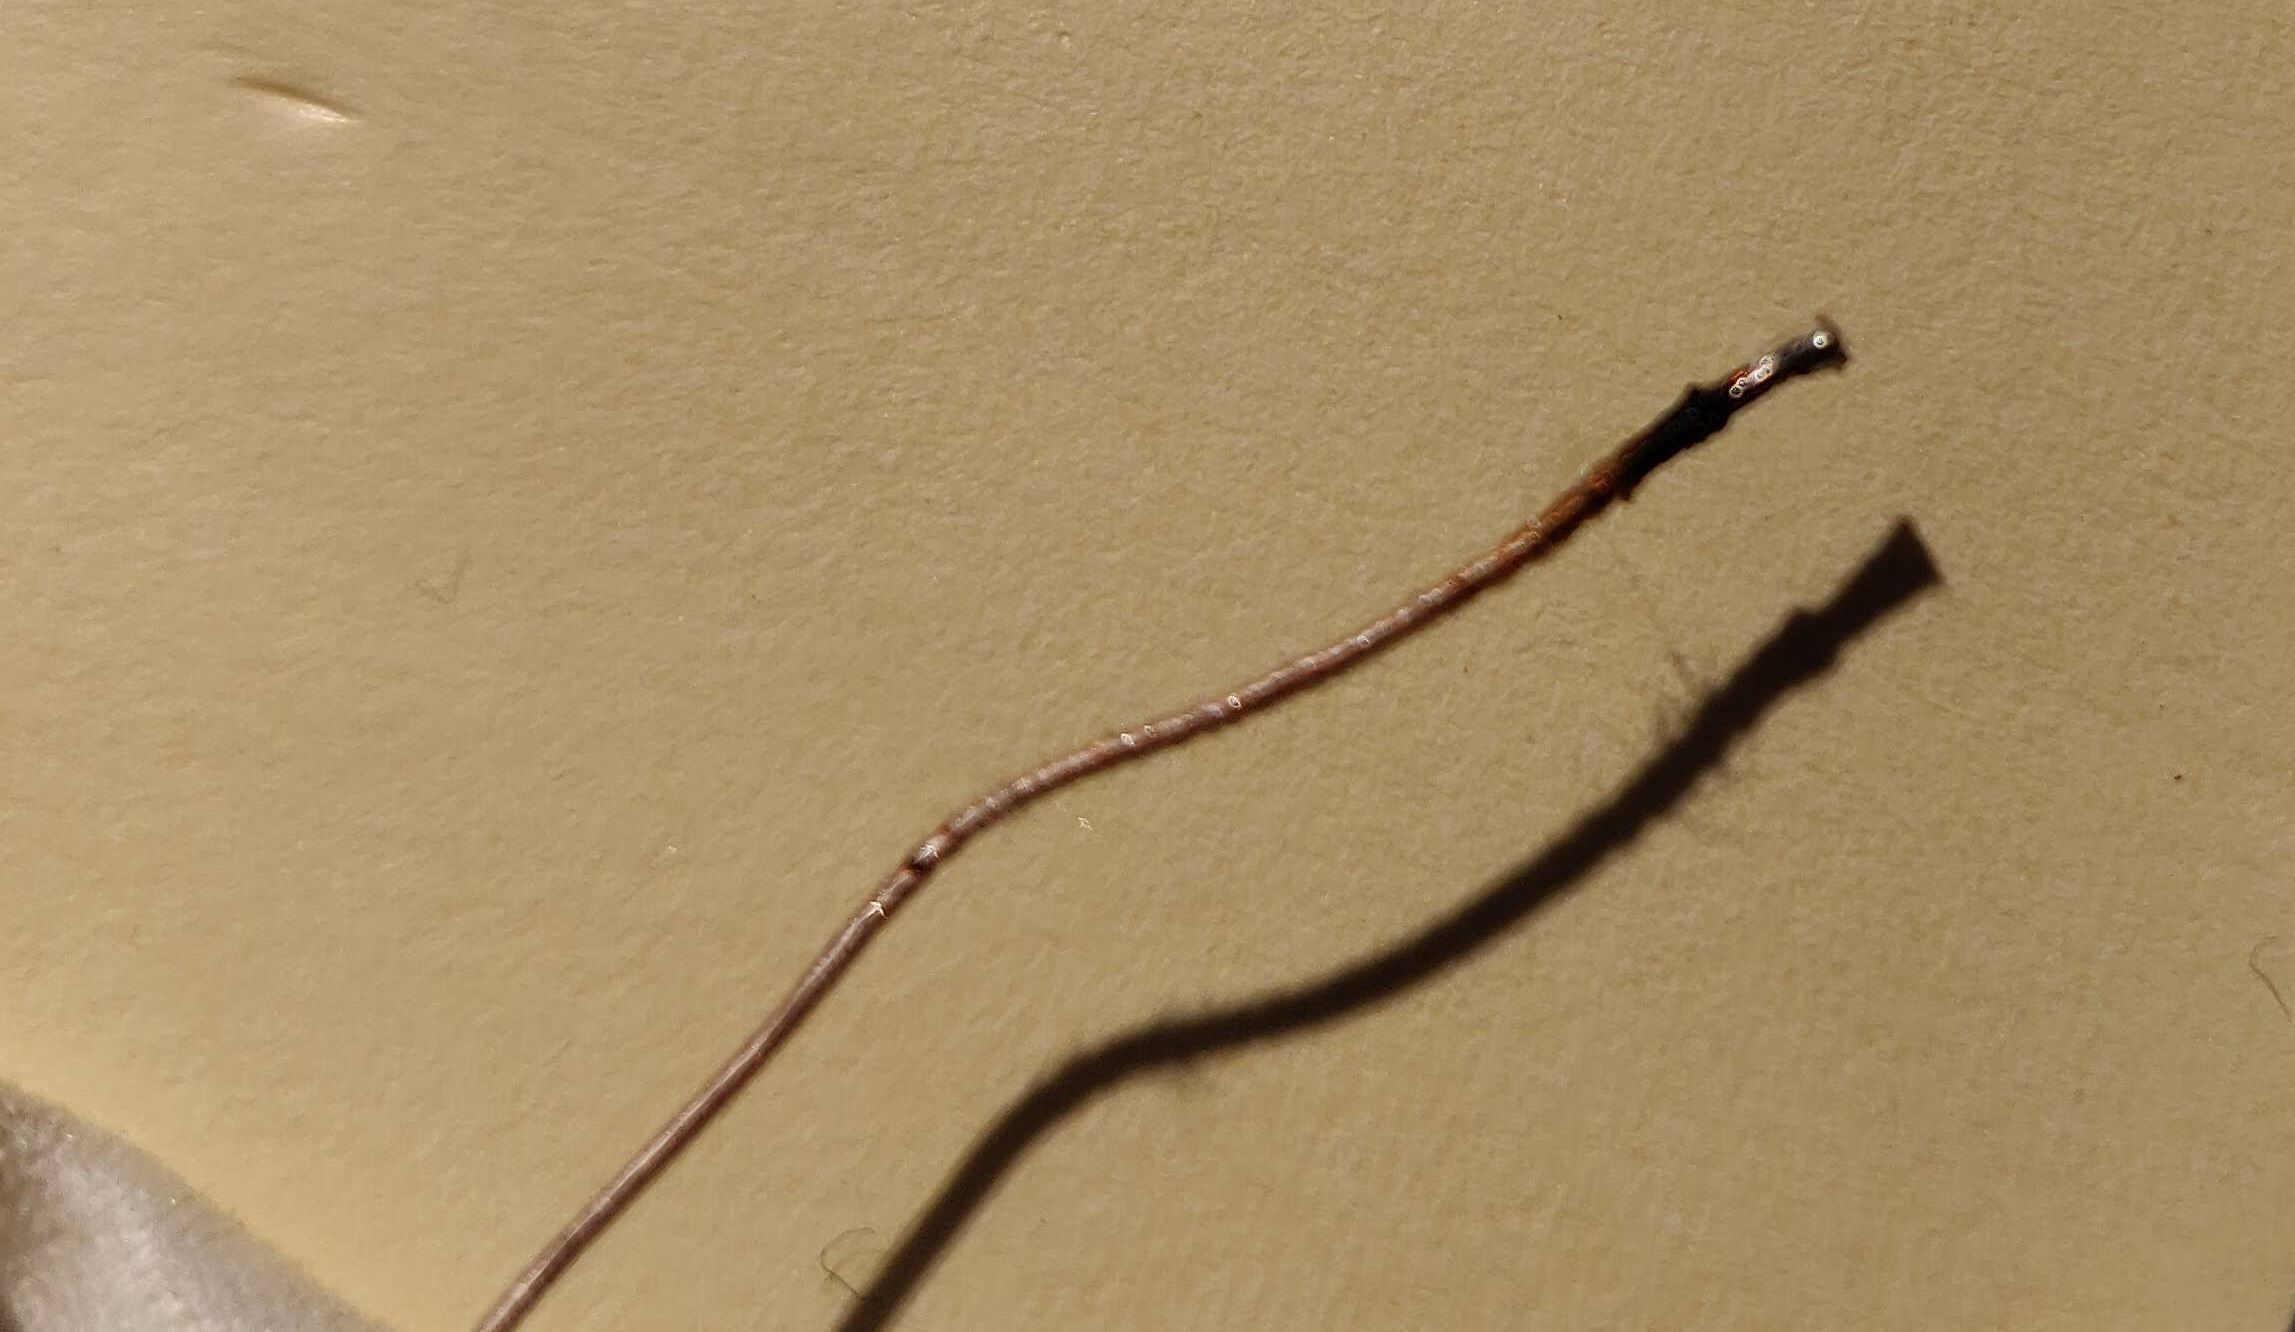
Then solder to the original headshell connector.
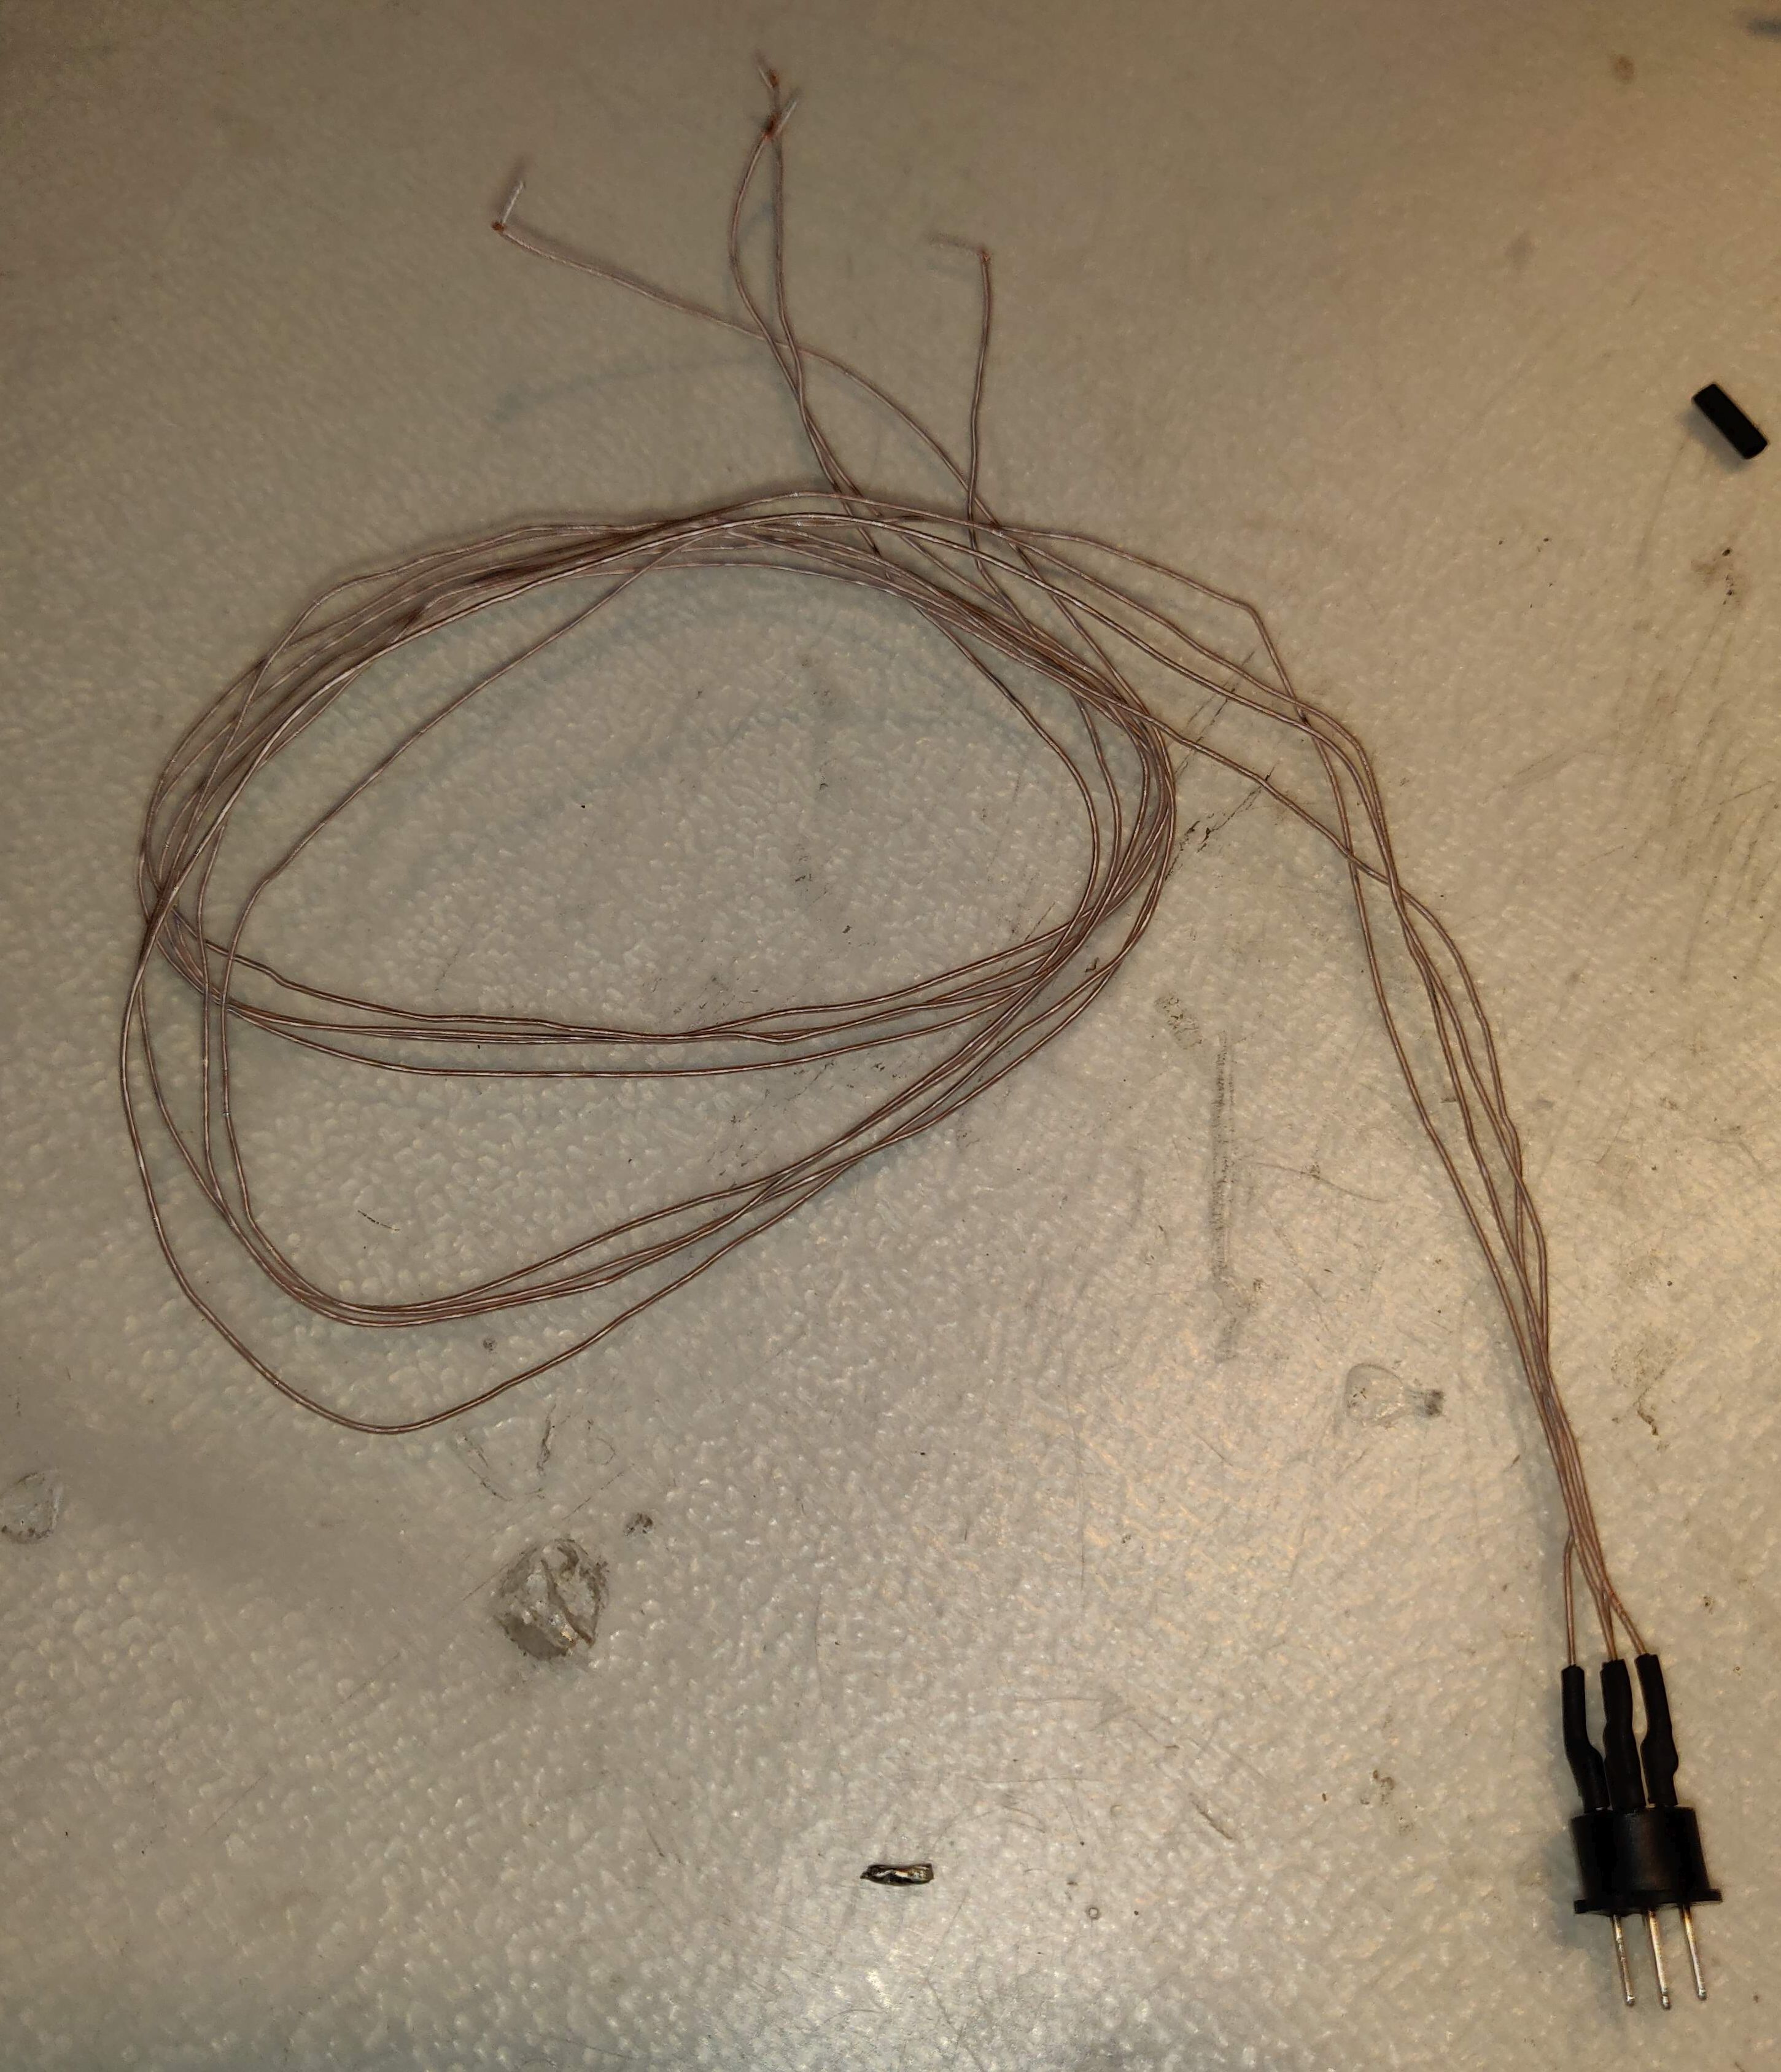
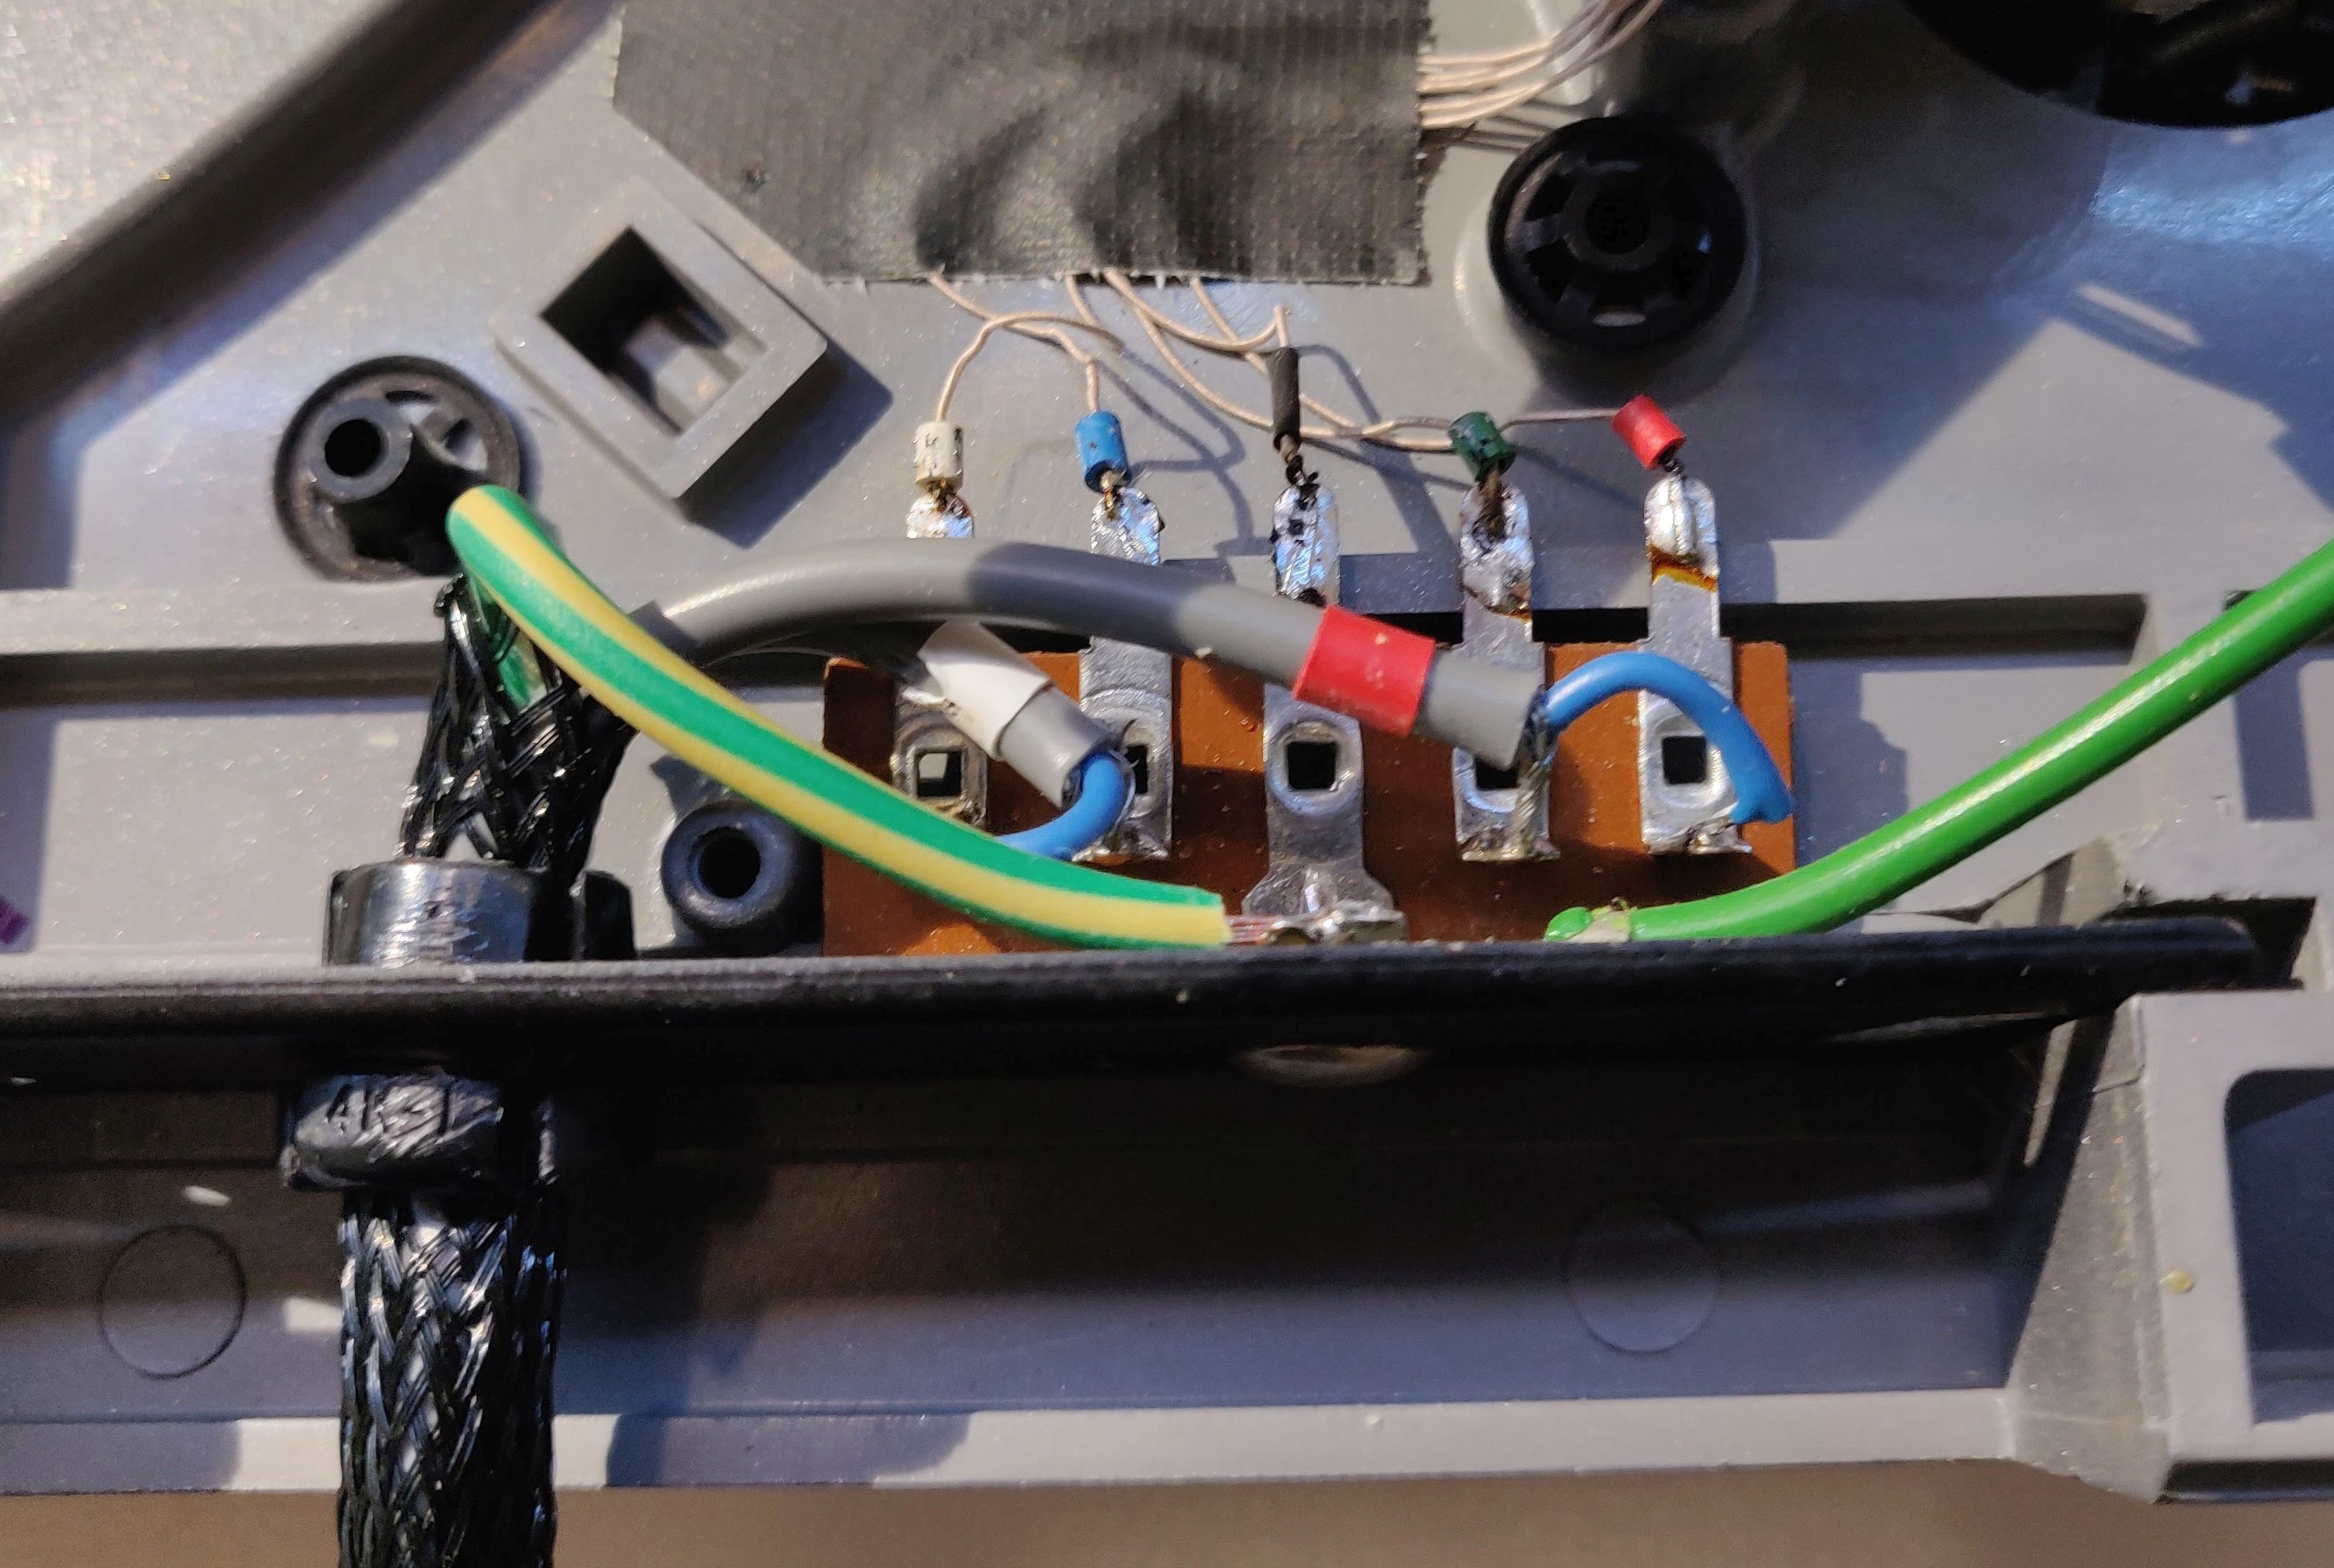
After giving the tonearm assembly parts a good clean, the next thing is to carefully thread the four wires through the tonearm, along with the grounding clip with its new wire. Once threaded through, the tonearm assembly was reinstalled. The wires then carefully routed into the turntable enclosure, and soldered onto the original terminals.

I tidied up the wires inside with some zip-ties, as it was all a ratsnest. The original strobe LED seemed very dim, so this was replaced with an LED that was in my odds-n-sods.
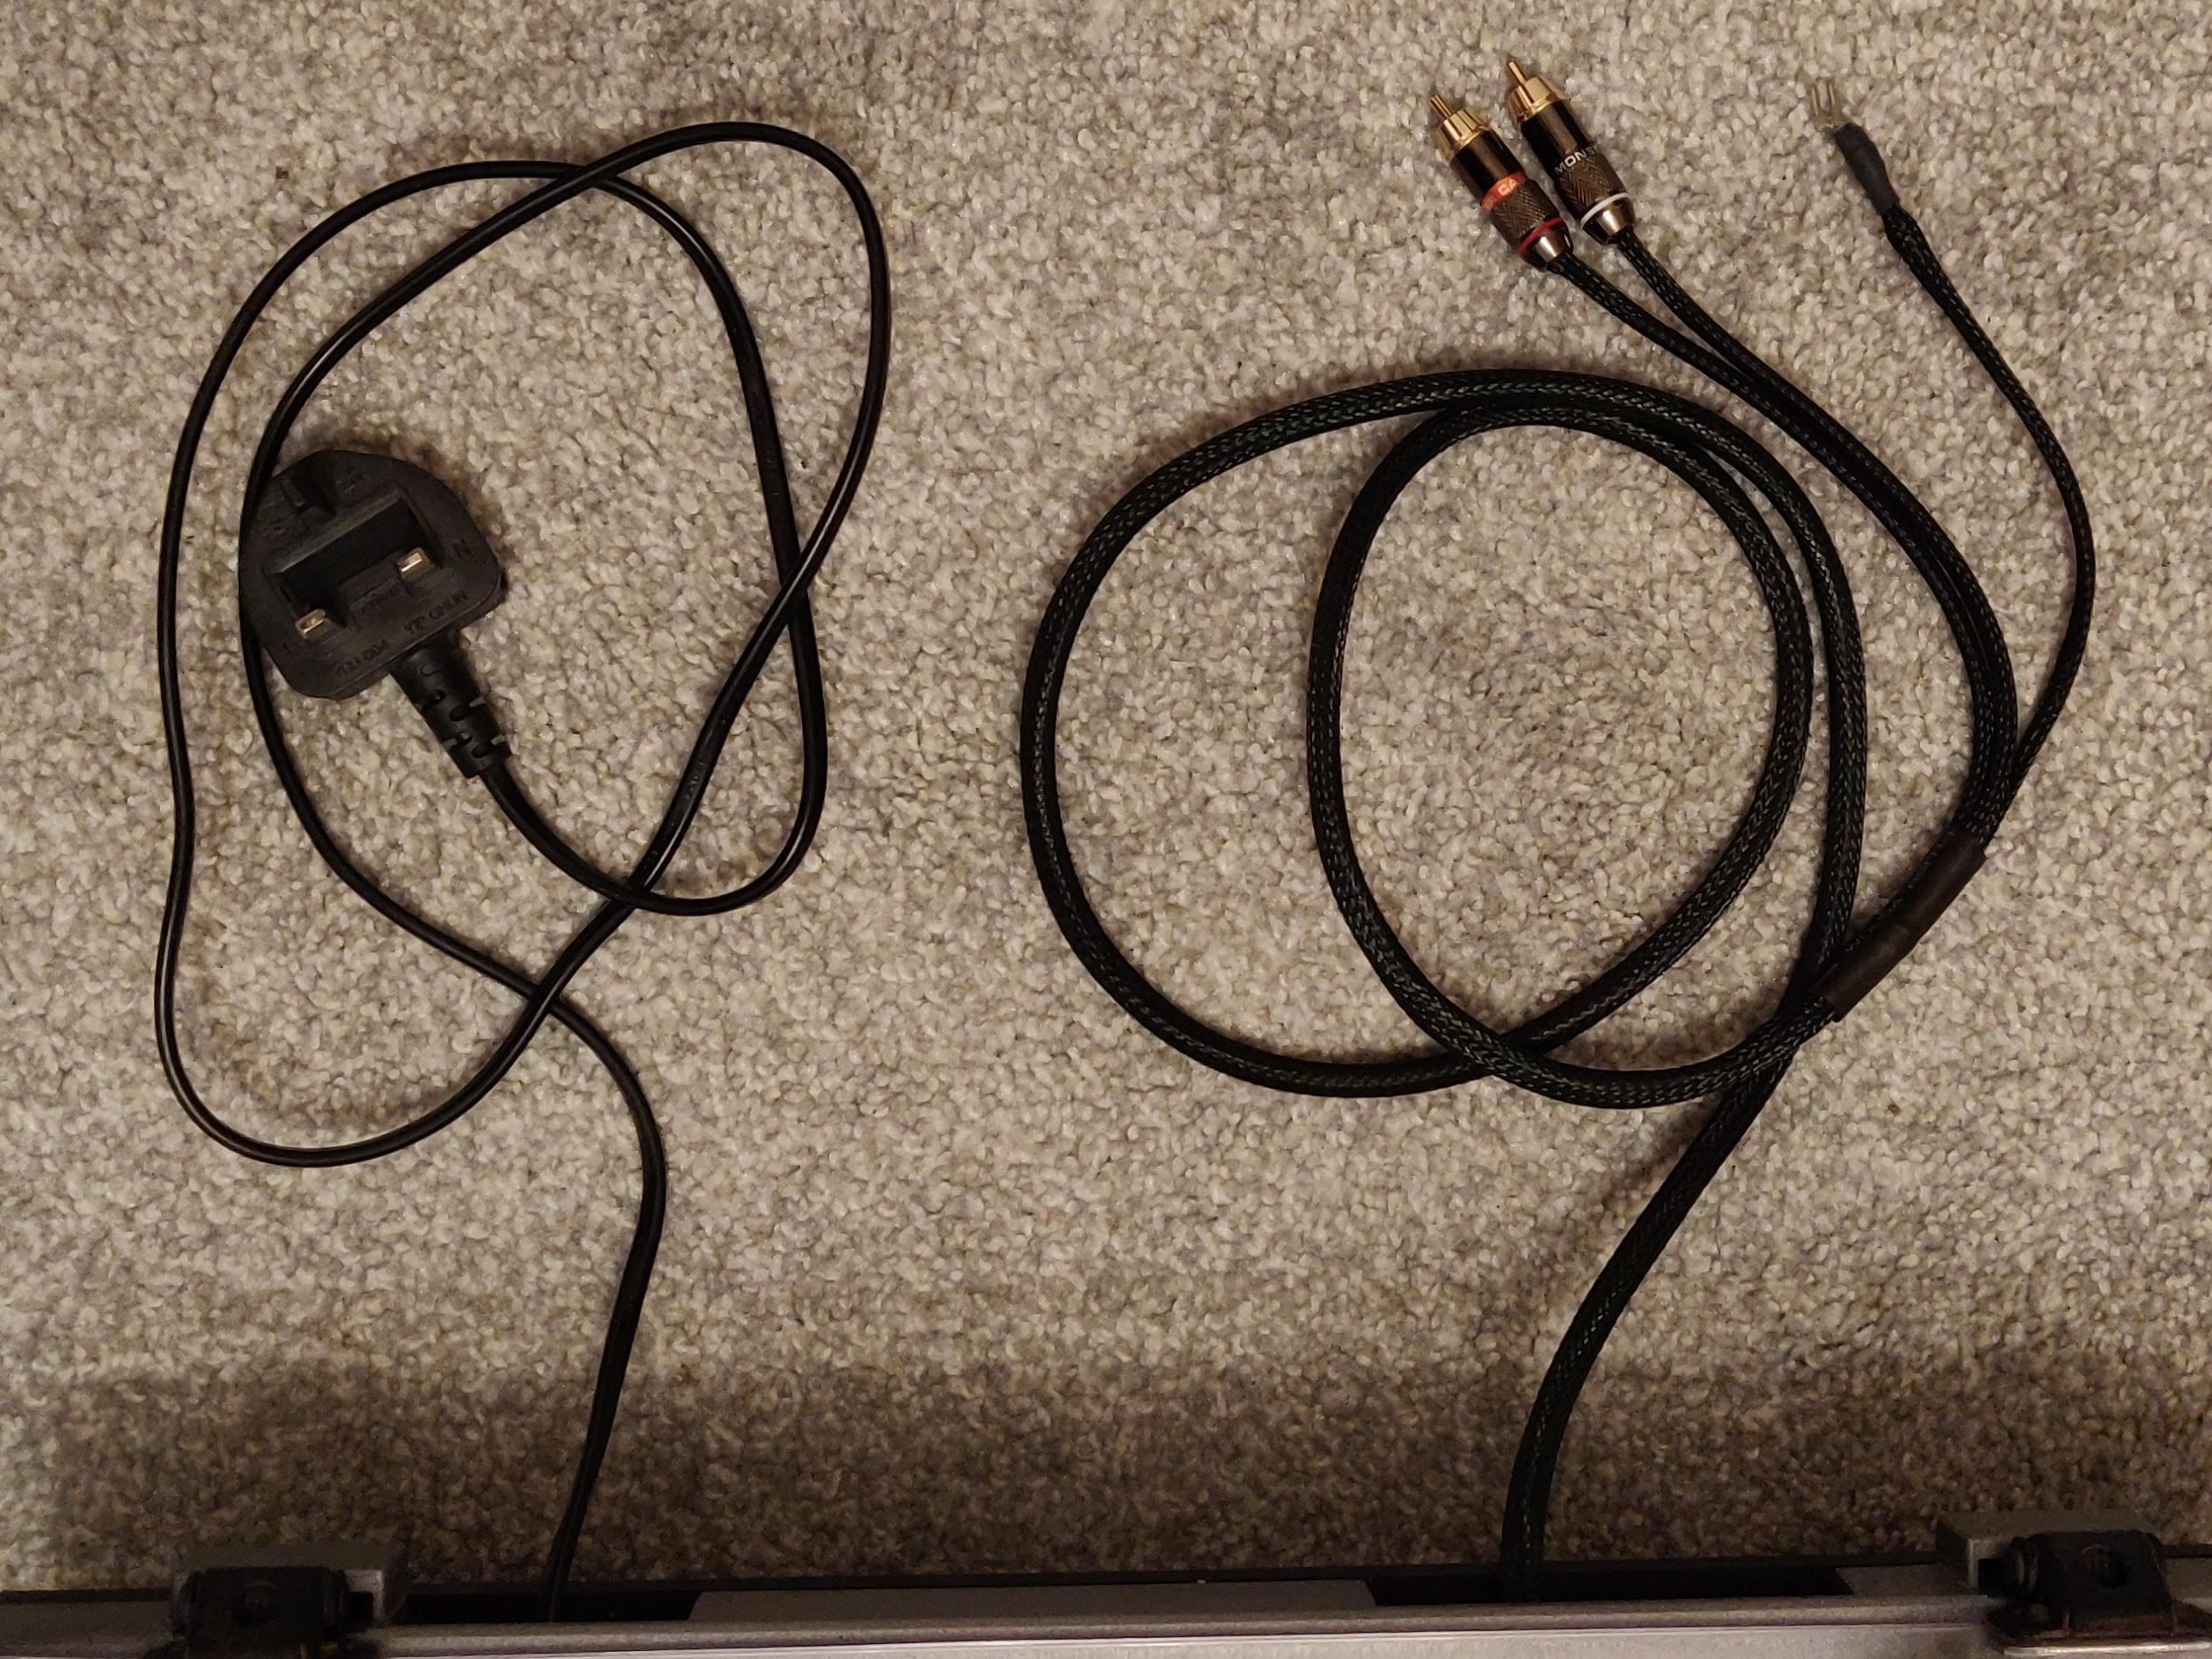
Last thing is the external cables. I made up a new audio cables using:
- 7/0.2mm Screened cable
- Gold plated RCA connectors (one white, one red surprisingly!)
- Length of green/yellow wire liberated from a IEC mains lead
- Fork crimp
- Black braid sheath 8mm diameter
- Black braid sheath 6mm diameter
Finally, the last thing to do is fit a brand new (modern) cartridge and stylus. Theres so many options on the market, I settled on something that isn’t too expensive, yet will give above average performance; Audio Technica AT-VM95E, it has an elliptical tip, which is preferred over a conical one for better sound reproduction.
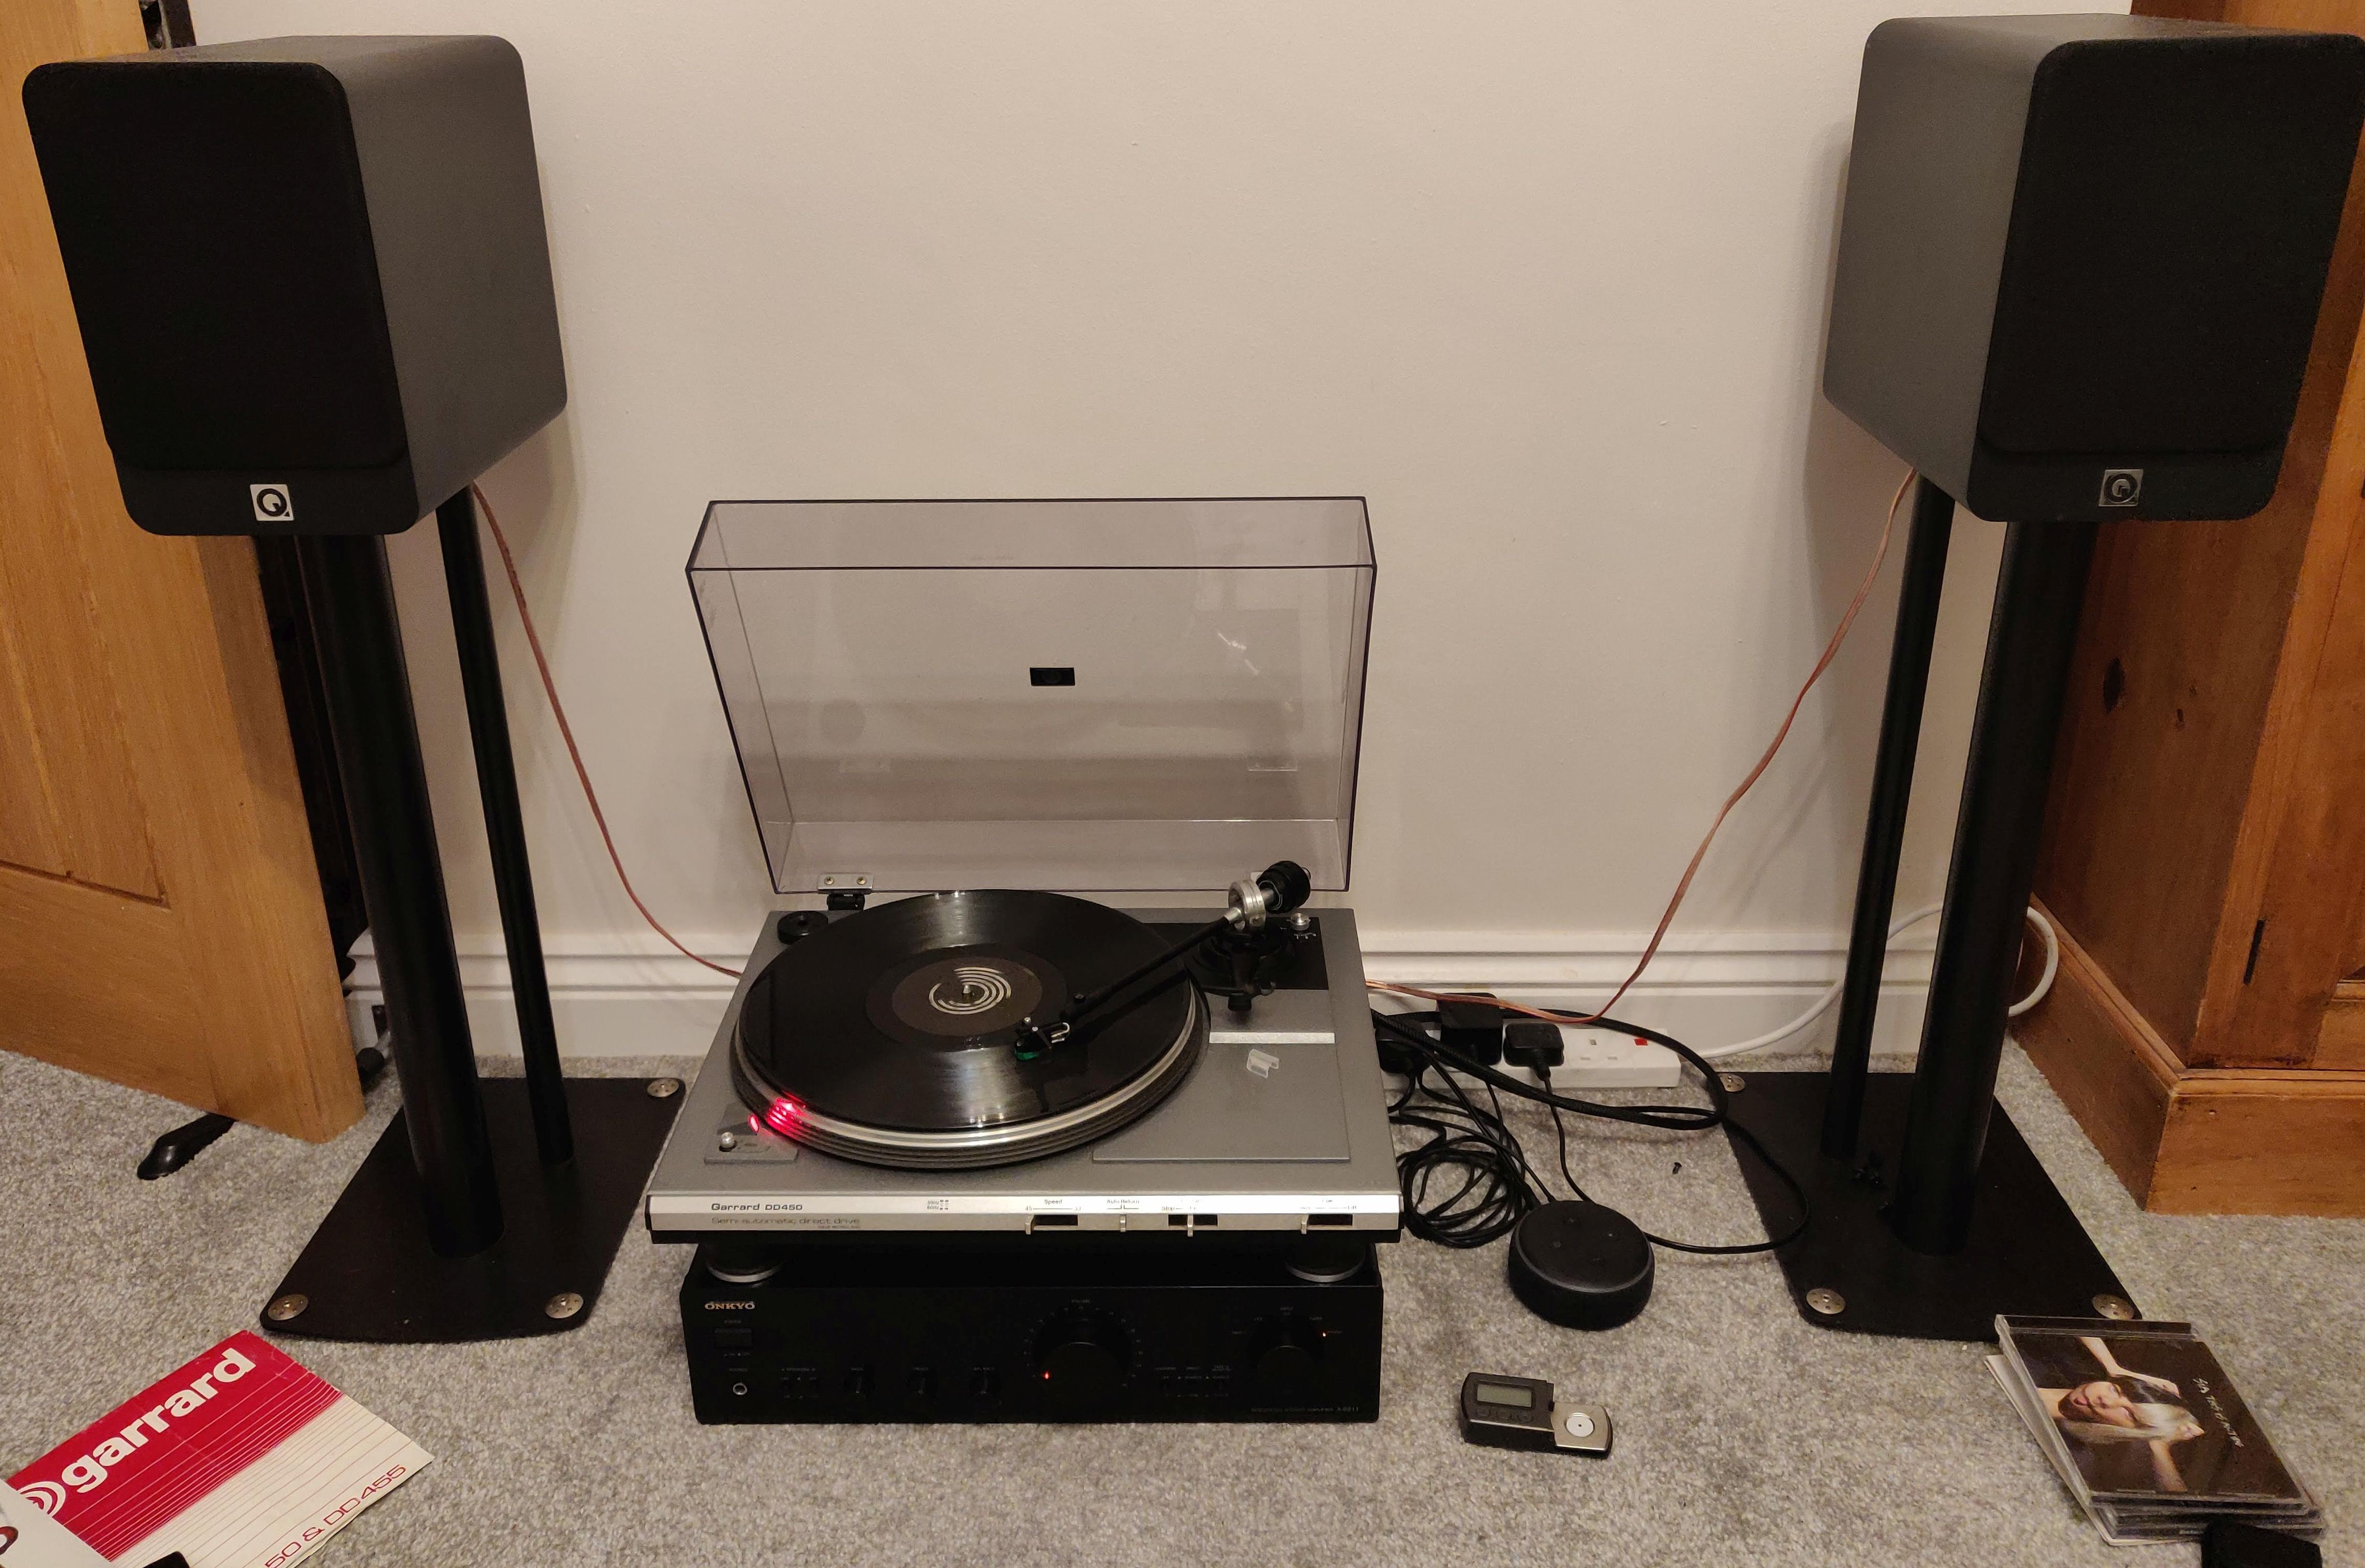
And that’s it completed! And it sounds fanstastic!! I’m so pleased with it. It’s so cool that this turntable is playing music that post-dates it by 40 years!